North American P-51 Mustang
 | |
|---|---|
 | |
| Type | Military aircraft |
| Configuration | Low wing aircraft |
| Propulsion | Piston aircraft, Single-engine aircraft |
| Manufacturer | North American Aviation |
| Author(s) |
|
| FDM | JSBSim |
| --aircraft= | p51d-jsbsim |
| Status | Production |
| FDM |
|
| Systems |
|
| Cockpit |
|
| Model |
|
| Supports |
|
| Development | |
| Website |
|
| Repository |
|
| Download |
|
| License | GPLv2+ |
|
| |
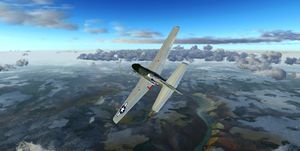
The P-51D Mustang is a piston single engine fighter aircraft.
Aircraft Help
Flying Hints
For the JSBSIm model use the USAAF F-51D/K manual (Aug. 1945) for detailed procedures. This are available on-line from the link near the bottom of this page in the External Links section.
Take Off
- Initially hold the tail down with full aft stick.
- Slowly increase throttle to 40 inHG Manifold Pressure as you pick up speed.
- Be ready to actuate rudder during the take off roll particularly if there is a cross wind.
- At about 50 MPH indicated start releasing stick back pressure. The tail will start to lift and the airplane will want to go to the left as the tail is coming up. Raising the tail slowly is beneficial.
- Once the tail is up increase throttle to 61 inHG.
- As you gain speed the amount of rudder correction to the right will need to be decreased and you may need to use left rudder depending on how much right rudder trim you set.
- Stay on top of rudder and elevator with small adjustments and keep the nose down until rotation or you'll do a ground loop.
- If the aircraft is heavy rotate at 150 mph. If the aircraft is light you can rotate at slower speeds but never below 120 mph (short field only).
- As you raise the gear the trim will change in a nose up direction. Be careful to avoid stalling or loosing air speed as the gear is retracted.
- All of the take off trim settings will need to be adjusted as you pick up speed so this will contribute to a high pilot work load during the take off and climb out. You will need to start removing right rudder trim almost as soon as you leave the ground and rudder trim will continue to change significantly up to about 275MPH indicated.
Climb
- Back off manifold pressure to 46 inHG.
- Adjust propeller pitch to 2700 RPM.
- The throttle has automatic boost controls and will hold the manifold pressure setting as long as the supercharger has enough boost to provide the selected setting. It will hold 46 inHg to about 30,000 feet.
- The mixture control is also automatic if it is set in the RUN position.
- If the supercharger speed switch is at AUTOMATIC the supercharger gear ratio will be controlled by an automatic system.
Flying
- Trim and Cruise at about 2400 rpm.
- Do not exceed 2700 rpm sustained.
- Do not exceed 3000 rpm military power (aerobatics)
- Do not exceed 3500 rpm in dives.
- Do not exceed 61 inHG Mainfold Pressure (military power), except 71 inHG for maximum of 7 minutes (war emergency power). Note that war emergency power is not for flying fast, rather it is for dogfighting at < 200mph.
Landing
- Use continuous back pressure on the stick to obtain an tail-low attitude for actual touch down.
- Because of the wide landing gear and locked tail wheel, landing characteristics are excellent on this aircraft.
- Minimize use of brakes during ground roll.
- At completion of the landing roll, clear runway as soon as possible. Excessive braking can cause you to do a ground loop (nose over). Some recommend raising flaps immediately after touchdown.
Performance Data
This information is gleaned from various sources:
- Maximum Speed: 437 mph
- Cruise Speed: 363 mph
- Landing Speed: 100 mph
- Initial Climb Rate: 3475 feet per minute
- Sustained Climb Speed: 175 mph
- Service Ceiling: 41,900 ft.
- Stall Speed, 9000lbs, Gear/Flaps Up: 102mph
- Stall Speed, 9000lbs, Gear/Flaps Down: 95mph
Avionics
SCR-522 VHF Radio The SCR-522 VHF radio is a four-channel crystal controlled set. To set the frequencies for each channel, use the Radio Settings dialog (Equipment -> Radio Settings, or F12). The radio control panel is located on the right-hand side of the cockpit, beside the pilot's right thigh, with a row of five red buttons labeled "Off" and A through D. To select the active channel, click the appropriate button, A through D. To turn off the radio, click the "Off" button. The transmit/receive switch is set to Remote and will respond to your regular PTT button.
Altimeter The adjustment knob on the altimeter can be used to calibrate the altimeter to the barometric pressure, but the pressure setting is not displayed on the screen. You can see and set the precise values on the Equipment -> Instrument Settings dialog.
Development status/Issues/Todo
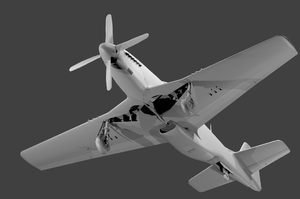
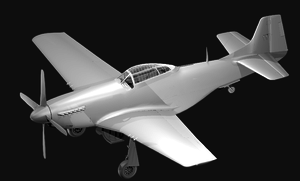
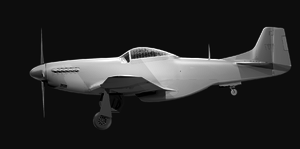
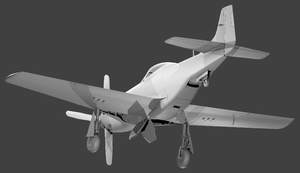
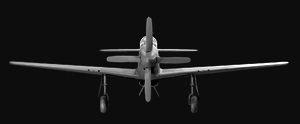
New 3D external model is underway
(2-1-2014)
The intent is to create an external model that is a solid 5 in the FlightGear rating system. All models are being built based on factory blue prints (my set has over 11,000 drawings). So the models will be extremely accurate and have lots of detail. Volunteers are welcome but I am expecting any work done to be of the very highest standard. There is tons of 3D related work that needs to be done and there are many very small 3D modeling projects that would make good starter projects and I am willing to mentor anyone that is willing and ready to do a good job.
Fuselage status
(updated 8-09-2014)
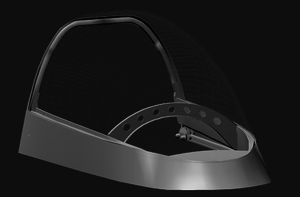
- The new external model is in pace and will be released with FlightGear 3.2. It is still a work in progress as it still needs to have a lot of normal mapping and livery work done. See the UV Mapping, Texturing, Bump Mapping and Reflection Mapping section below.
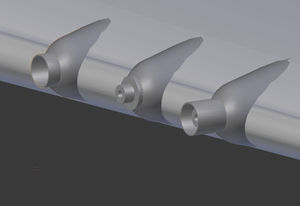
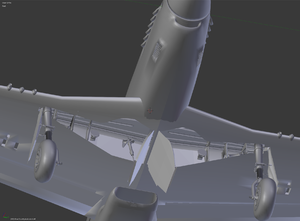
Wings - New 3D Models Done
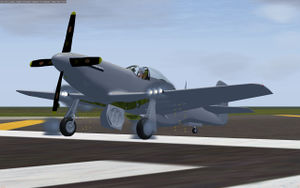
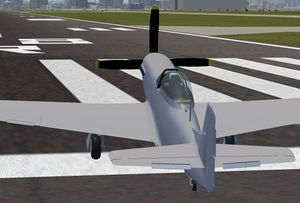
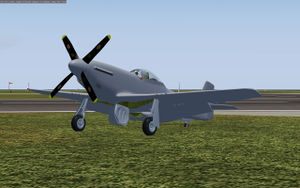
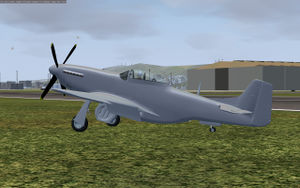
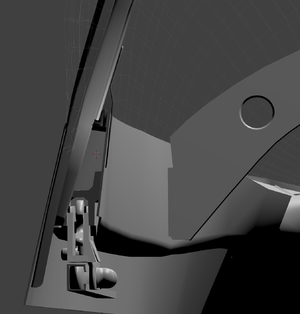
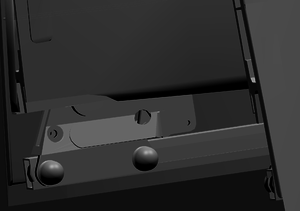
On the right are some screen shots of the WIP models.
UV Mapping, Texturing, Bump Mapping and Reflection Mapping
(updated 7-21-2014)
- UV mapping is mostly done. There will likely be some adjustments to some parts of the UV map as texturing proceeds.
- Texturing is underway.
- Bump mapping is underway but is very time consuming. It is currently about 20% to 25% complete and will need additional work after the 3.2 release.
- Reflection mapping is mostly done and only needs final tweaks.
- Texture source materials for markings and fittings.
- HG476-1 through HG476-6, R140 (D model), S254, P246, P247, B971, G415, C101
- 10*-48144, 104-73365
- fuel filler flange on wing Q102
- Texture source materials for markings and fittings.
3D cockpit
(updated 7-21-2014)
- When the new external model work is completely done a mostly new 3D cockpit will be built out from the skin inward. Until then the existing interior will be fitted into the new cockpit.
- Almost none of the existing models in the cockpit were built from actual plans/blue prints and as a result are not accurately modeled even if they appear to be OK visually.
- The existing interior models have been moved into the new fuselage. Fit not perfect but close enough for the FG 3.2 release.
- The new correctly dimensioned cockpit is about 3 inches narrower and 3.5 inches lower relative to the Fuselage Reference line than the old model. In addition the new model has the 0, 0, 0 point located in the factory location which is 7.68 inches behind the front edge of the cowl. So the 0, 0, 0 point is about 1.192 meters behind the old location. This means that the old interior components like gauges, radios, controls... were moved around a considerable amount to get them fitted into the new cockpit. It also means that many animations of existing components needed to be modified to use the new locations.
- Components that will not need to be remodeled include:
- Most instruments.
- The K-14A gun sight and related models.
- The throttle quadrant.
- The VHF radio control unit.
- Elevator trim wheel.
- Rudder and aileron trim wheels.
- Need to be remodeled.
- Armor plate S45 & S46
- Seat S22, M179
- Stick T526, G141
- Rudder pedals
- Panels
- Right switch box Q480 & Q481, T576, T596, T597
- Port control pedestal M171, M172, M173
- Retract lever.
- Flap control.
- Induction air controls.
- Cooling system control box L282
- Lower panel Q640 & Q641
- Fuel tank selector
- APS13 panel Q648
- rear warning radar panel Q646 & Q647
- VHF radio control unit mount Q633 Q558
- New Models
- SRC-522A dynomotor.
- support beams for radio and dynomotor.
- Rear fuselage fuel tank. Drawings: S11, S12 and S13.
- Battery box.
(updated 8-9-2014)
- YASim version has been removed
- Directory structure has been changed to reflect current FlightGear standards but there is still some cleanup work needed as cruft tends to creep in as work is underway.
- Most of the cruft in the Model directory has been removed.
- The new model is animated.
- The model is now fully integrated into the FDM.
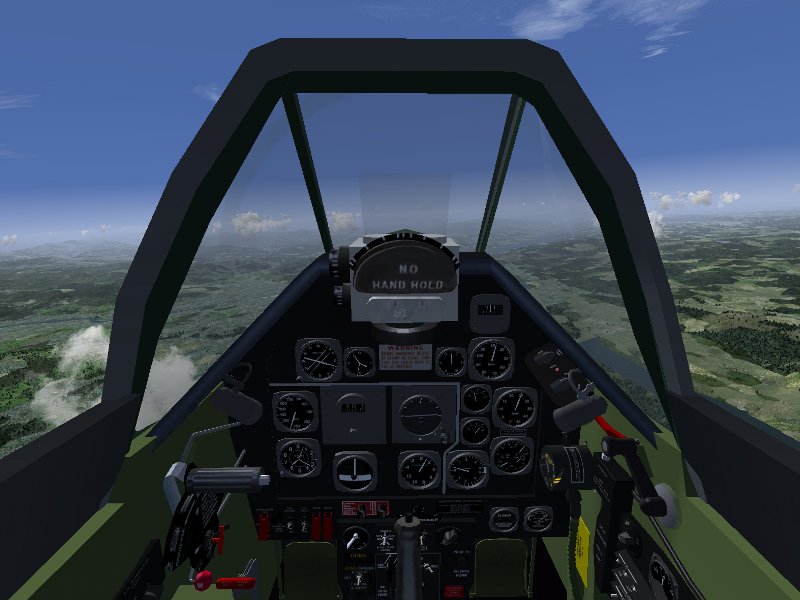
- The aircraft has a fully functional cockpit including hot spots and check lists.
- All weapons systems are operational and the guns have been sighted in.
- Need to add matriculation.
- Engine start up smoke has been added.
- Add exhaust flames.
- Gun muzzle smoke and flash animations are in place and scale with hardware capabilities.
- Gun cartridge case ejection animation is in place, working and scales with hardware capabilities.
Airplane of the Week/Month
The P-51D (JSBSim) was reviewed as 'Airplane of the Week/Month' on May 04, 2011 as follows:
P-51D (JSBSim)
Model
The JSBSim version of the P-51D comes with a very detailed 3d cockpit, down to various warning plaquettes. I think it conveys the feeling of being in a warbird very much. Based on a quick google image search, it looks pretty authentic to me.
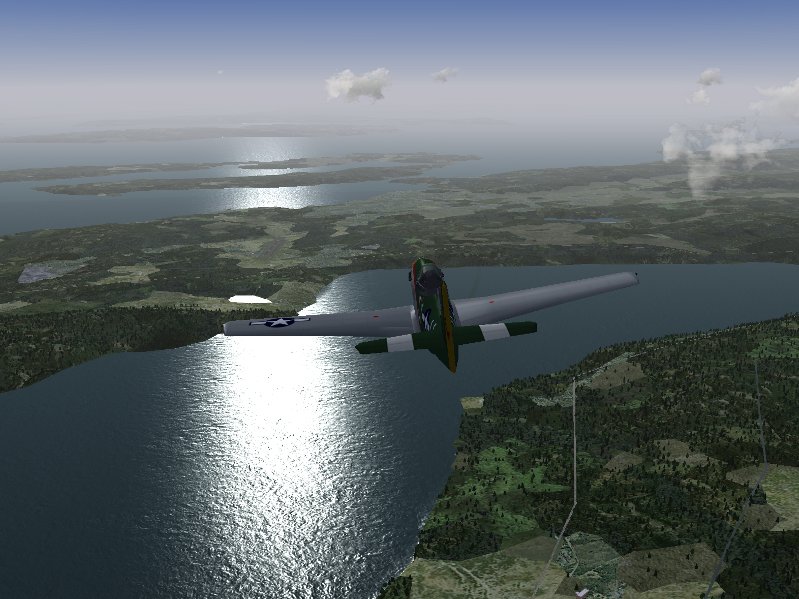
Most of the switches are actually functional :-) For instance, some amount of fuel management is required for longer flights. The plane comes with a full working set of weapons, from guns via bombs to rockets - so tight dogfights are entirely possible. A full engine startup procedure is simulated. The exterior model is maybe not stunning, but nice enough for all practical purposes:
Flight characteristics
The JSBSim FDM of the P-51D is very detailed and is actually a joy to experience. As common with warbirds, engine torque is a major issue - try spinning up the engine suddenly in mid-air, and observe how the plane begins to roll unless you counter immediately with the ailerons. Accoding to Hal (the author), the performance characteristics in different altitudes is very faithfully reproduces (I lack the documentation to check, but I haven't seen anything implausible).
The plane is rather difficult to handle - it requires some skill to get it off the ground in spite of the engine torque forces, and even more skill to get it back to the ground in one piece onto the runway. Having the full control equipment (joystick and rudder pedals) is certainly a tremendous help - but it is possible with some practice to fly with just the mouse (avoid crosswinds though...).
The ground handling is tricky - ground loops (the propeller touches the ground) are a constant danger (apparently that really was and is an issue with the real plane) - so careful use of the brakes is a must, and sometimes its even necessary to throttle down immediately after the engine starts.
And, as a very special feature - the plane actually spins rather realistically - so be careful when approaching stall speed.
My personal wishlist
An added pdf manual describing all the features and providing some background info would be terrific - I have the feeling I'm missing so many details...
Things to experience
Let a tank run out of fuel, and experience a lovingly and realistically modelled engine stutter, followed by an emergency landing.
Related content
| There is a category with screenshots of North American P-51 Mustang. |
Wiki articles
External links
- 1945 USAF F-51D/K Pilots Manual
- Flight Characteristics of the North American P-51 Mustang: How to Fly the P-51 Fighter YouTube video about the B version (30 minutes).
| |||||
