Atmospheric light scattering
A surprisingly large fraction of whatever we get to see from an airplane is light scattered somewhere in the atmosphere. This includes the obvious phenomena like the blue color of the sky and the golden-red sunrise and sunset light, but also any form of haze and fog, for instance the effect that faraway objects loose their colors and fade into blue-white. In a typical situation, around 70% of the color values of the scene outside the cockpit are not determined by the color of the scenery textures but by sunlight and haze colors. Having a detailed model of atmospheric light scattering is therefore important for a realistic visual experience in a flight simulation.
However, atmospheric light scattering physics cannot actually be solved in real time. Imagine looking into the sky. The light you see could have been scattered into that ray at any distance along the ray, but part of the light which has been scattered in has already been scattered out again if the in-scattering point is too far away. Even for a single ray, the problem thus requires two nested integrals to determine the observed light as the correct balance between averaged in-scattering vs. out-scattering given the density of scattering centers in the atmosphere along the ray. Allowing for multiple scattering leads to even more nested integrals. Any integral however is numerically tough to solve, and much more difficult to solve in real time.
The aim of this project is to create a set of shaders which approximate the problem in a suitable way by using for instance analytical solutions for the light scattering physics under certain assumptions or parametrized versions of the true solution such that all essential physics determining the visual appearance of the scene is captured. This effort is by its nature closely linked to the weather system which determines how the atmospheric conditions are while the light scattering code determines how this translates into a visual impression.
Light scattering basics
The basic processes how light scatters in the atmosphere are Rayleigh scattering and Mie scattering. Rayleigh scattering occurs on scattering centers which are much smaller than the wavelength of light (typically the air molecules). In this limit, the outgoing light is scattered into every direction with equal likelihood (isotrope scattering), but the probability to scatter depends on the wavelength of the light - the shorter wavelengths (blue, violet) scatter more strongly. This is the cause for the color of a clear sky - there is much more diffuse Rayleigh scattering for blue light happening in the upper atmosphere than for red light, and as a result we see all the light that gets scattered out of the direct path from sun to eye as a diffuse blue glow - the sky. The same phenomenon causes the red color of sunrises - since the sun is close to the horizon, the path the light has to travel through the dense parts of the atmosphere is long and so by the time the light reaches the eye all blue light has been scattered out and only the red light remains.
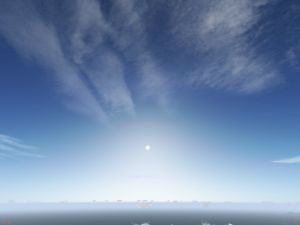
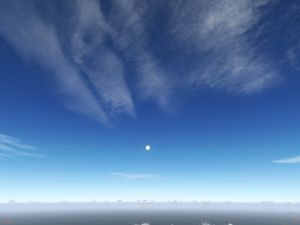
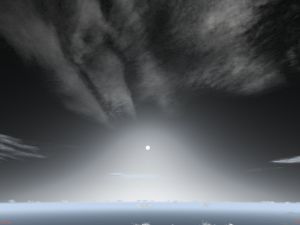
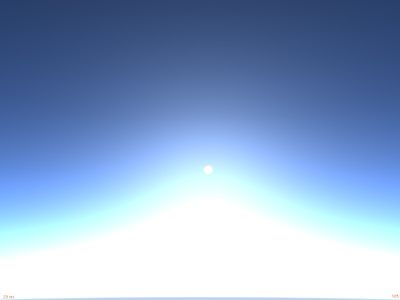
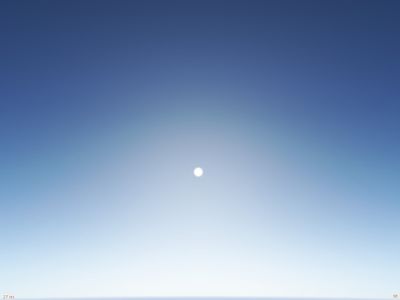
Mie scattering in contrast occurs for much larger particles (water droplets for instance). In this limit, the scattering is of equal strength for all wavelength (i.e. pure Mie-scattered light is white), but the scattering is strongly directional - the scattered light prefers to go close to its original direction. Mie scattering thus tends to create bright white halos around light sources. This is illustrated in the following screenshots of a sky decomposed into the Rayleigh and Mie scattering channels:
As long as the light scattering effect is weak, a medium is called optically thin. The relevant measure is the ratio of the light attenuation length divided by the size of the medium which must be smaller than one, and the defining characteristic of an optically thin medium is that you can look through. This is certainly true for the upper atmosphere where visibility ranges are easily several hundred kilometers whereas the thickest part of the atmosphere is just about 30 km vertical size. Thus, a dark blue sky is actually the blackness of space, seen through the light blue-white glow of Rayleigh scattering.
As clouds demonstrate quite drastically, water droplets can easily make the atmosphere optically thick. In this case, light is scattered multiple times before reaching the eye, and most information on what the basic scattering process was like is lost. Dense fog looks like a uniform grey, which means there is no color information left, and no directional information where the light originally came from. We may call this regime diffuse scattering.
Actually, it is not quite true that diffuse scattering retains no color information. A sunrise beneath an overcast cloud cover looks blue-grey rather than red, thus there are subtle color changes of the incoming light as it filters through an optically thick layer.
Atmospheric haze
General considerations
What makes the problem complicated to solve in practice is that the only thing that can be calculated reliably is the density of air molecules in the atmosphere as a function of altitude, but there are only one ingredient in the light scattering problem. Dust or water vapour are at least equally important, but their distribution in the atmosphere cannot be cast into a simple form - it is in general a full 4-dim function of space and time, equal to the evolution of the weather itself. The information about the distribution of haze must then come from the weather system.
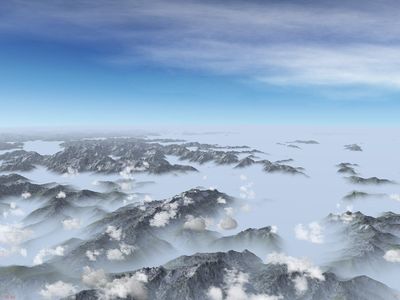
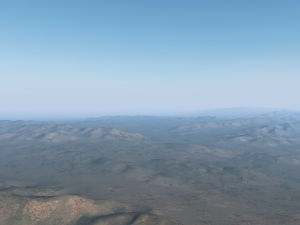
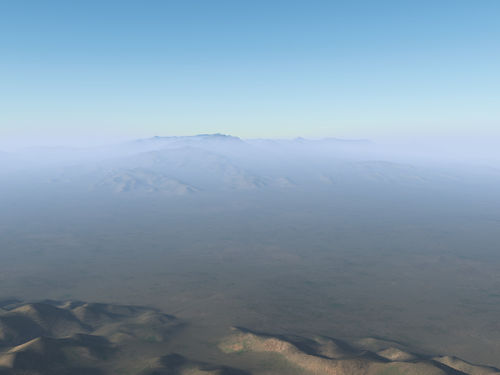
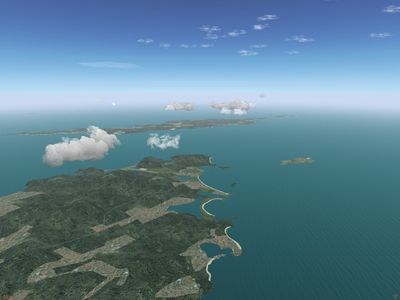
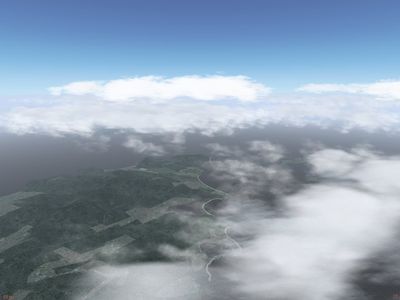
Getting a semi-realistic haze distribution is important for rendering a scene. A normal haze distribution in the atmosphere can not be characterized by a single value of the visibility range - the visibility range depends on position and view direction. Imagine you are 10 km high and the forward visibility is an (unrealistically small) 10 km. The visibility range looking down will typically be a lot less since the atmosphere gets denser as we go down in altitude, and hence there is a lot more light scattering. Looking up on the other hand the visibility will be much more than 10 km since the density decreases. Or imagine a second case with a 1 km thick fog layer with 500 m visibility on the ground. Above the layer, the visibility can be 50 km. However, it will be impossible to see the ground beneath the fog, only mountains reaching above the fog layer will be visible. The following two screenshots illustrate the situation:
Setting a global visibility in the scene to a value of either 50 km or 500 m will never result in this behaviour. Thus, once we want to render anything resembling realistic haze distributions, visibility along any ray must be a property of the whole scene rather than the position of the aircraft.
The haze problem can be approximated by observing the following points:
- The vertical structure of the atmosphere changes usually much faster than the horizontal structure. A fog bank may be 500 m thick, but it is unlikely to be just 500 m wide. Most realistic haze layers are almost constant across a range O(10) km, i.e. to a good first approximation one can model only the vertical structure of the atmosphere and have the atmosphere horizontally constant in each frame and change the whole horizontal structure of the atmosphere per frame dependent on current position. This doesn't take into account that a haze layer may be seen from above to have a finite extension.
- Most dust and water vapour is found in the lowest convective layer of the atmosphere, i.e. beneath the lowest cloud layer, since this layer has actual contact with the surface as a source of water vapour and dust, but there is no effective transport of dust across the lowest inversion layer. Thus, most situations are approximated well by a low visibility layer close to the ground with a high visibility layer above. This neglects situations in which a second optically thick layer may be in the scene at higher altitudes.
- Compared to diffuse scattering, the effect of Rayleigh and Mie scattering is much less pronounced, as these apply to optically thin media with hardly any light attenuation. Thus, one can to a good approximation base the whole fog fading with distance on diffuse scattering. This neglects phenomena like the Blue Moon which are caused by almost pure Rayleigh scattering in the absence of diffuse scattering.
The color of the horizon
An interesting problem with a surprising solution is how the horizon should be coloured. Suppose it is noon, the sun is right above the scene, we stand on the seashore and look towards the horizon - what do we see? If there were no atmosphere, we'd see the darkness of space (as pictures from the surface of Moon demonstrate nicely). Since there is atmosphere, we see black, fogged by the atmosphere between us and the edge of the atmosphere.
If we approximate the atmosphere by a 20 km thick layer with a constant density, the horizontal view ray exits the atmosphere after passing about 500 km of air. If the air is very clean and hence only Rayleigh scattering present, the horizon is a relatively dark blue. Even small amounts of fog (a visibility of 500 km is quite good!) change this to a light blue.
If the visibility is somewhat less, i.e. between ~30 and 400 km, the horizon is a brilliant white. Every fog particle along the ray is fully illuminated from above, but we cannot see through the atmosphere, as the visibility is less than the distance we'd need to see.
Once the visibility drops below about 30 km, it is however no longer true that every fog particle is fully illuminated - a lot of light now gets absorbed in the upper layers of the atmosphere before it can reach fog particles along the view ray, and hence the horizon becomes grey. Eventually, under an overcast sky and in thick haze, this turns into a dark blue-grey.
Thus, as the visibility increases from zero to infinity, the horizon first gets lighter until it reaches a brilliant white, then it darkens again.
Color shifts of the terrain
Rayleigh scattering on air molecules and small aerosol particles does not only cause the blue color of the sky - the same effect that occurs when looking through a column of air into space also occurs when looking through air onto terrain. Rayleigh scattering causes distant objects to appear at different colors.
The actual color of an object seen in the distance is a competition between in- and out scattering. Along the ray of light connecting eye and the object, light coming from the object is scattered out, and as Rayleigh scattering preferentially affects the short wavelength, the remaining light is shifted towards red. However, at the same time, light hitting the air molecules from above is scattered into the direction of the eye, and for the same reason, this light is preferentially blue. As a result, distant terrain appears as if covered by a blue haze, but the colors underneath the haze are subtly shifted towards red.
An example of increasingly stronger Rayleigh scattering on the terrain rendered in Flightgear is shown below:
As of Flightgear 3.3, the Atmospheric Light Scattering framework simulates Rayleigh scattering on the terrain based on the visibility parameters of the scene and an air pollution factor at high shader effect quality level. The combined effect of Rayleigh haze, color shifts due to out-scattering and diffuse haze can lead to a very subtle variation of color across the visible and partially haze-covered terrain
Visibility and fog function
In aviation weather, the visibility is defined as the distance out to which objects are still recognizable in fog or haze. In physics, the visibility is usually defined as one attenuation length of the light, i.e. the distance by which only the fraction of 1/e or about 36% of the original light is left. The two definitions are obviously not identical - it appears that about 2-3 attenuation lengths are needed to meet the criterion that distinct objects are no longer recognized (this also depends on other factors).
In reality, in a fog of constant density, the fraction of the original light (pixel color) left after a distance d is exp[-d/λ] - this is exponential fogging. Since the visibility range is about 3λ, this implies for 3d rendering that the majority of scenery loaded will be more than 80% fogged and badly visible. Since this is very inefficient, the pure exponential fogging is not always used.
An alternative is quadratic exponential fogging, i.e. a function ~exp[-d^2/λ^2]. This leads to less fogging for d<λ but much more fogging for d>λ and thus the visible terrain is less fogged whereas the faraway terrain is rapidly becoming so strongly fogged that it doesn't need to be loaded - in essence it tends to makes terrain either visible or not.
A different strategy is exponential fading with a cutoff, i.e. a function ~exp[-d/λ - d^4/λ^4] - this fogs with a physically correct attenuation within the visibility range but cuts off everything beyond that range rapidly to that it doesn't have to be loaded. The choice of fog function is hence a balance between fast rendering and realism.
Basic atmosphere model elements
Translated into a rendering problem, one can identify the following relevant elements
- The skydome simulates the scattering in an optically thin atmosphere in the absence of haze layers. As such, it takes into account Rayleigh and Mie scattering with the parameters adjusted to account for the water vapour and dust distribution above the current aircraft altitude. The current skydome shader is based on work by Sean O'Neil and is described there (in case you're interested in O'Neil's article - the reason why he is able to do what he describes in Eliminating One Dimension is that for realistic rendering distances one can neglect the full curvature of earth and Taylor-expand the expressions in the curvature, his result can then be derived analytically). Extra diffuse high-altitude layers can just be 'painted' onto the skydome.
- Since, for an exponential decreasing atmosphere density, the scattering integrals can be solved analytically, an extra Rayleigh haze simulating sky-blue in-scattering of light is applied to the terrain before diffuse fogging, and based on the same integrals, the redshift of the terrain underneath is computed.
- A ground haze layer of given thickness and ground visibility takes care of simulating ground fog banks and visibility in the lowest convection layer. This simulates diffuse scattering only needs to enter the computations of both the skydome and the terrain shaders.
- An aloft layer simulates diffuse scattering above the ground haze layer, also simulating only diffuse scattering. Since the visual impression for anything but large distances is dominated by the ground haze layer, the aloft layer visibility can be modelled as a function of aircraft altitude without creating an unrealistic impression. The aloft layer never obscures the skydome, as its visibility range is supposed to account for the atmosphere looking down, but never looking up where the visibility is much better.
- The really optically thick clouds are drawn by the weather system as separate models into the scene.
Perception
One crucial thing to remember when dealing with light attenuation is that what we see is not physical light intensity. To give an example, the light intensity beneath an overcast sky at dawn is easily a factor 2500 less than the light intensity in the bright noon sun. However, dividing an rgb vector of (1,1,1) (white light) by 2500 and using the result for lighting the overcast dawn results in a pitch black scene. The reason is that the eye adapts to different light intensities and that in essence perception weighs intensities over a wide range not linear but logarithmically, a phenomenon known as the Weber-Fechner law.
Another perception effect is that contrasts are dynamically adjusted. Usually the brightest object in the visual field is assigned the color white, the darkest the color black, and all other shades are assigned between. This means that the raw intensity range in the scene has to be compressed (e.g. by exposure filtering) into a narrower range by dimming the highest intensities and enhancing the lowest intensities. The following screenshots compare the raw intensity results with the perception-filtered results:
Perception effects require thus some amount of postprocessing in the shaders.
Light scattering during the day
When the sun is high enough in the sky, the situation to render is as follows: All light intersects with the terrain with a comparatively large angle. This means that the curvature of earth doesn't make a difference - light intersecting with a level surface at 55 degrees isn't differently colored or much changed in intensity from light intersecting at 56 degrees, because the pathlengths through the atmosphere do not change much. This means that the whole scene can be rendered in spatially homogeneous light and all that matters is the vertical structure of light scattering and absorption in the atmosphere, which simplifies the rendering problem considerably.
Thus, light penetrates the thin upper atmosphere, as it filters through, Rayleigh and some Mie scattering create the blue sky. Dependent on the model for the amount of high haze and water vapour to be specified by the weather system, this is handled by the skydome shader.
As the light reaches the first significant cloud layer, light intensity is much reduced. As clouds are drawn outside the terrain and skydome shading codes, this can not be explicitly computed by the shader, neither is it computationally feasible to compute the shadow cast by each cloudlet by ray tracing in real time. Thus, the relevant parameters (rendering/scene/scattering for the light intensity reduction at the position of the aircraft and /environment/surface/scattering for the light reduction on the ground) must be modelled by the weather system (which knows the cloud layer position) and passed to the shaders. The visual difference between shaded terrain and unshaded terrain is illustrated by the following two screenshots:
After passing through the cloud layer (usually the lowest layer beneath which the ground haze layer starts), the light is attenuated due to the diffuse scattering in the layer, which leads to additional intensity reduction by fog self-shading which can be computed in the shader.
This, however, is tricky, because fog does not really have a position, rather what the eye sees is the integrated effect of fog along a ray, and so the brightness of fog is really a weighted integral of fog brightness along the whole ray. This, however, can be approximated by taking the brightness at one attenuation length as a proxy (incidentially, this is the reason that two scattering parameters for the effect of clouds are passed - the light reduction at the aircraft position is a better proxy for fog shadowing due to clouds, the exact position-dependent light reduction can be used for the ground which has a definite position).
The altitude-dependent light reduction due to the clouds is the first instance of the lightfield technique, i.e. that the sunlight is represented as a series of functions r(x,y,z), g(x,y,z), b(x,y,z) in which the individual color channels are functions of vertex position in the scene.
Diffuse skylight
While the Sun is the main source of light during the day, Rayleigh scattering actually makes the whole sky a source of diffuse, sky-blue light coming predominantly from above. This diffuse skylight is especially important for the perception of glossy surfaces. Usually we identify these by their sharp specular reflections. However, using only the Sun as directional light source, a surface in shadow or facing away from the Sun has no specular reflection at all. Yet in reality, such surfaces still appear glossy, because they reflect the diffuse illumination coming from the sky.
Implementing this effect in the rendering of models makes a subtle but important difference in how a glossy surface appears when facing away from the sun, as the two following screenshots illustrate:
Light scattering at dawn / dusk
For low sun, one can no longer assume that the scene is illuminated in homogeneous light or that terrain altitude does not matter, because both the path of light in the atmosphere and the shading due to the spherical shape of earth play a role. To see this, compare the sun just at the horizon with the sun one degree below the horizon - in the first case there is direct sunlight, in the second case there is not, and so a small change in sun angle makes an enormous difference in lighting.
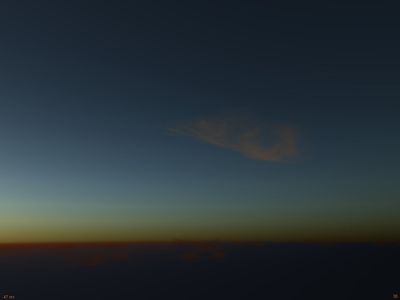
In fact, the apparent sun position relative to the horizon (and thus the light) is much dependent on altitude - mountaintops can be observed in sunlight while the rest of the terrain is still dark (a phenomenon known in German as Alpenglühen). This is even more apparent when looking at high-altitude clouds. The following screenshots show the effect in Flightgear:
Similarly, from high altitude the curvature of earth is apparent by the terrain (or haze in the direction towards the sun being more brightly illuminated than the terrain or haze away from the sun.
Short of directly computing the light passing through the atmosphere, these effects can be taken into account by using lightfields, i.e. by changing the color and intensity of the sunlight dependent on the position and altitude of the illuminated vertex. However, even computing parametrized lightfields make a significant performance impact as compared to the rendering situation at noon.
Unfortunately, the lightfield scheme used to render the light color combined with the scheme used to determine cloud shading is not guaranteed to give realistic effects. In reality for instance, a low sun can sometimes illuminate a layer from below. Whether this is possible or not depends on how far the layer extends - if it extends all the way to the horizon, it can never be illuminated from below, but if it terminates before, this is possible. It also depends on the terrain - there might be a chain of mountains far away which blocks the sun. In order to get the situation right, the weather system would have to be able to determine the cloud cover ~200 km away from the current position, but in Flightgear typically neither the terrain nor the weather at such distances is known.
Another effect which is currently not addressed adequately is the inter-cloud shading (clouds casting shadows on other clouds). Due to the layer structure of clouds, at noon this is usually not a big issue and only the self-shading of clouds is relevant, but for a low sun inter-cloud shading (and fog being shaded by clouds) is often very pronounced in reality.
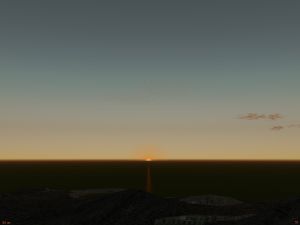
Contrary to common misconceptions, the sky itself doesn't necessarily become red-orange for a low sun - a clear sky remains usually dark blue, changing to light blue. The elements visible during a sunrise are:
- Rayleigh scattering in the upper atmosphere, coloring the sky itself red if dust or aerosols are present (for instance after a volcano eruption or in a region with polluted air) - this is almost absent in clean air
- Mie scattering of red-orange Rayleigh light in the lower atmosphere - this specifically creates a red-golden halo around the rising sun and is absent when looking away from the sun
- Diffuse scattering of red-orange light in the ground haze fog - this contribution colors all directions almost equally, it can also be seen by a viewer facing away from the sun.
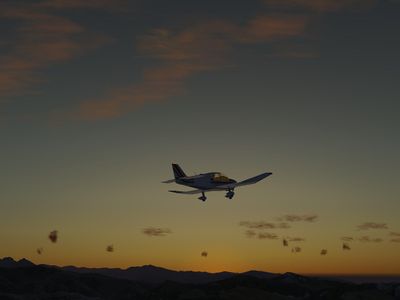
- Clouds being illuminated by red-orange light - high clouds are translucent and can be seen against the sun, lower dense clouds block the sunlight and appear dark against the sun, but bright looking away from the sun. Most spectacular sunset pictures show red-orange clouds glowing in front of a relatively dark clear sky.
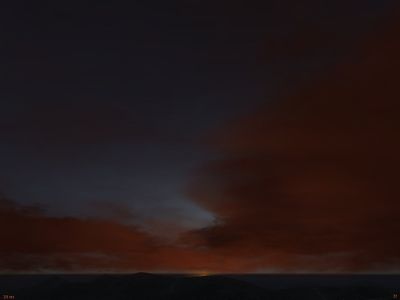
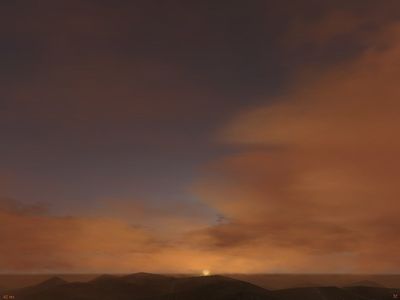
The following screenshots of a very coloured sunrise in which successively the diffuse scattering and the Mie scattering components are removed illustrate this - in a clear, Rayleigh dominated sky the blue sky color essentially remains:
The difference between diffuse and Mie scattering are more apparent when looking 90 degrees away from the sun. The diffuse component is unchanged, however the Mie component shows a dependence on view direction:
Predawn light scattering
Before sunrise, there is no direct light from the sun available, all light which reaches the ground has scattered at least once in the upper atmosphere (which is already illuminated). In the context of the Phong reflection model, this means that the diffuse and specular lighting is absent.
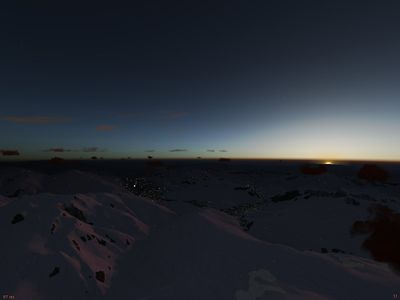
Since Rayleigh scattering dominates the upper atmosphere light scattering, predawn light is usually blue. However, this is not the whole story, as the perception of low intensity light is also biased towards blue (this is known as the Purkinje effect and the reason why moonlit scenes appear bluish in spite of the fact that moonlight is just reflected sunlight and has the same spectrum). The sudden change to the red direct light of the rising sun can create for a short time spectacular contrasts.
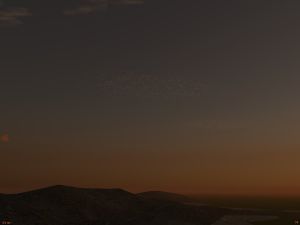
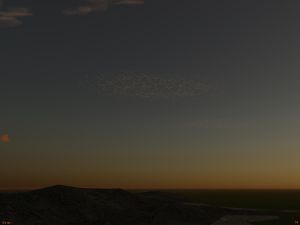
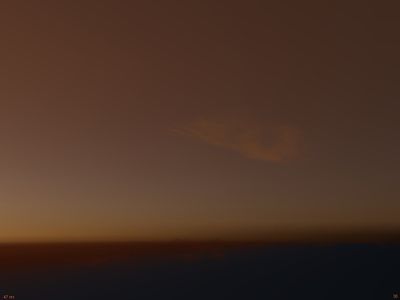
However, in the presence of a high cloud or haze layer, direct light can be diffuse scattered towards the ground. In this case, the ground predawn light is actually brighter than for a clear sky, and it has a red color. The following screenshots illustrate this in Flightgear:
Light scattering on clouds
Despite being rendered technically in a completely different way from haze and fog (texture stacks vs. fog function in terrain shaders), the physics of light scattering on clouds is no different from the physics of light scattering in haze. Mie and diffuse scattering are the main mechanisms on water droplets. The thickness of the cloud makes all the difference here.
We have already discussed the mean effect of light attenuation on a cloud layer, let's look now at some specifics.
Mie scattering on thin clouds
When a thick cloud is before the sun, it absorbs the sunlight and the cloud appears dark, which is the effect of diffuse scattering. However, when a thin cloud is illuminated from behind, it glows brilliant white during the day or red-golden during sunrise. This is the effect of forward scattering - the light scattering is strong as long as the scattering angle is small and sun, cloud and eye are approximately lined up. As with haze, Mie scattering creates a bright halo in thin cloud cover.
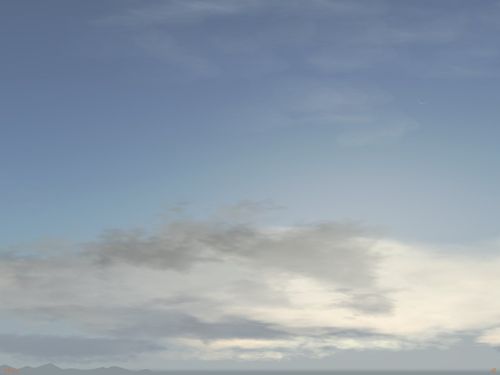
At daytime, this creates a whiteout of a cloud when the sun is right behind it. If other, more dense clouds are also in the scene, this creates an impressive play of light and shadow:
Interestingly enough, cloud dominated by Mie scattering appear a relatively dark grey (as if they were in shadow) when seen from the side, even when they are fully illuminated. This is caused by the low probability of light scattered to large angles - since all light is focused forward, the side of the cloud becomes dark.
At sunrise and sunset, the effect of Mie scattering is even more prominent - since the direct sunlight coming through the upper atmosphere is red-golden due to the effect of Rayleigh scattering, the Mie-halo created by light scattering in the clouds is also coloured. Combined with diffuse shading on denser clouds, this generates very vivid colors which change quickly as the sun rises higher and both light intensity and hue change.
Mie scattering is essentially absent whenever a cloud becomes opaque, i.e. when it is larger than the light attenuation length in the cloud.
Latest version
The latest version of the project code is found in the FGData master branch.
Related content
Further reading
- Atmospheric Light Scattering (general overview and gallery)
- Aurora Borealis in ALS
