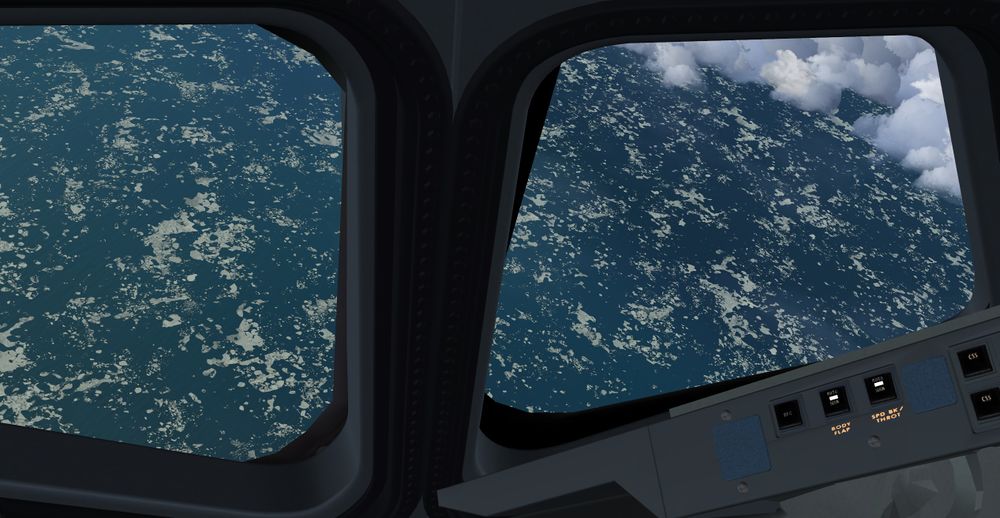
Flying the Shuttle - Final Approach
| Note This article refers to the SpaceShuttle in the FGAddon repository. |
| Space Shuttle |
|---|
| Main article |
| Technical |
| Checklists |
| Nominal Operations |
| Nominal Operations Advanced Tutorials |
| Intact Aborts |
| The other space shuttle |
The final mission phases can directly be started using --aircraft=SpaceShuttle-TAEM --aircraft=SpaceShuttle-approach on the command line.
What are we trying to do?
In the very last part of its flight, the Space Shuttle flies like an airplane. Yet, its design is a compromise between a small launch weight, a body that is suitable for hypersonic aerobraking and can withstand the heat generated by atmospheric entry and aerodynamical flight. As a result, it's aerodynamics is more similar to a brick than to a glider. Even at its best, the glide ratio is about 4.5, much less during supersonic flight.
As a result, the glidepath is fairly steep (about 17 degrees, more than five times of what a commercial airliner flies on approach) and the touchdown speed is unusually high (about 200 kt). Yet, the landing gear of the shuttle is as fragile as a normal landing gear, thus touchdown has to be gentle. And since the Shuttle is a glider, there is just one chance.
The tasks during final approach are
- bring the Shuttle safely to the runway, allowing for a variation of different energies
- perform a soft touchdown on all three wheels
- bring the Shuttle to a stop on the runway
How it feels in FG
The aerodynamics of the Space Shuttle in FG is taken from a large body of wind tunnel data, i.e. both basic capabilities like L/D and details such as the response to airfoils is fairly realistic.
As in reality, the rudder of the spacecraft is controlled by guidance logic to minimize sideslip, i.e. the rudder pedals should normally not be needed unless side slip is explicitly desired. At subsonic velocities, the Shuttle is dynamically stable which makes it fairly easy to fly.
The final approach starts at an altitude of about 10.000 ft, some eight miles from touchdown. The runway seems very far below at this point.
Push the shuttle down to a 17 - 20 degree glideslope from here. This is steeper than it's optimum glidepath, so use speedbrake to control the approach speed to about 340 - 350 kt. The aim point for the nose is a little before the runway. Make sure you have good visibility to do this, in reality the Shuttle is just re-routed to a different landing site if the weather is bad, there are no provisions for an IFR approach.
The speedbrake is a fairly powerful drag device, so you can accomodate quite a variation in energy at this point. If the speedbrake is not operational, the landing gear works almost equally well, but note that the maximum gear extension speed is 312 kt.
At an altitude of about 2000 ft, pull the Shuttle gently into pre-flare, i.e. onto a shallower glideslope aiming at the threshold.
At this point, airspeed should decay rapidly. If you started preflare with 340 kt, this is fine, but if your airspeed was much lower, you may have to retract speedbrakes to avoid early touchdown.
Before preflare, vertical speed is about 190 ft/sec, after preflare this should be reduced to 12 ft/sec. With airspeed continuously dropping, you should reach the runway threshold. Deploy the landing gear at an altitude of 300-400 ft (i.e. only a few seconds before touchdown). The gear is a poweful drag device and will slow you down quite a bit. Pull further up into a final flare. The nose at this point should be some 12-14 degrees above the horizon and the airspeed should approch 210 kt. The nominal touchdown point is some 2500 ft behind the threshold.
The orbiter creates a powerful ground effect, so you can let that cushion your sinkrate. At touchdown, vertical speed should be 3-6 ft/sec and may not exceed 9 ft/sec without damaging the gear. To avoid tire damage, speed over ground at touchdown may not exceed 230 kt. The pitch angle at touchdown can not exceed 15 degrees without causing a tailscrape.
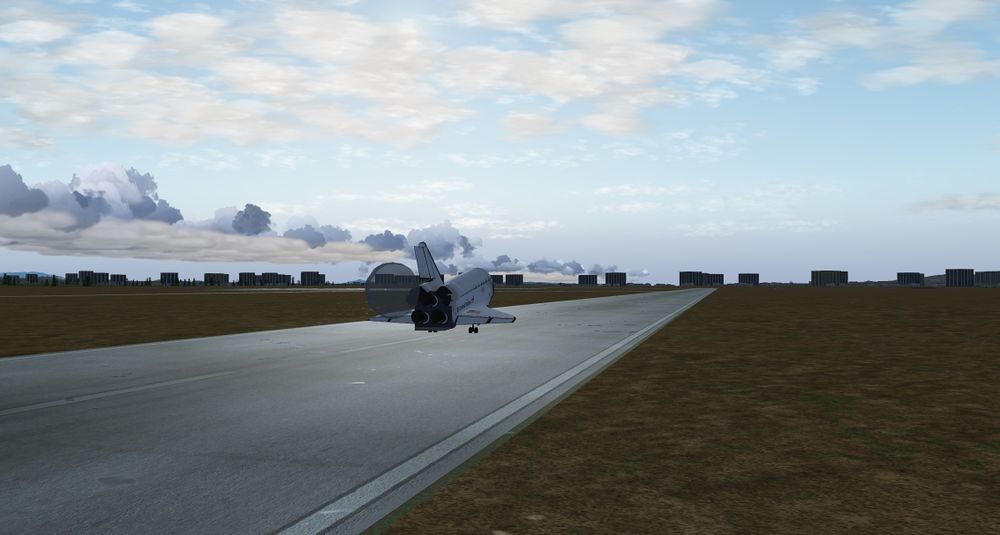
Don't relax as touchdown is called out, your work is only halfway done. With the nose gear still up, make sure airspeed is below 230 kt and deploy the drag chute ('c'-key). This is deployed in two stages, so hit the key twice for full effect.
Wait for airspeed to reduce to 185 kt, then begin derotation to bring the nose wheel onto the ground. Do it gently - the derotation speed may not exceed 2 deg/s without damaging the nose gear.
If you manage to come in too hard, prepare to deal with asymmetric friction caused by blown tires and / or damaged gear struts. Use ailerons to perform load relief for the damaged side.
Once the nose wheel is on the ground, hit the brakes and use nose wheel steering to stay on the runway. The drag chute will be jettisoned once the Shuttle is slower than 40 kt. Wait for a final call of 'Wheels stop!'
Congratulations - you're home.
The last five minutes - a tutorial
(written for the devel version of Oct. 2017)
| Note You can find in complement of this tutorial a more advanced Tutorial for TAEM once you feel more confident TAEM and Landing advanced. |
| Note This tutorial is for an up to date version of the official Flightgear Space Shuttle Flight Manual. |
In this tutorial, you'll learn to read the Shuttle avionics to fly from TAEM interface into the final approach on instruments only.
- Start Flightgear with the commandline options
--aircraft=SpaceShuttle-TAEM --airport=KVBG
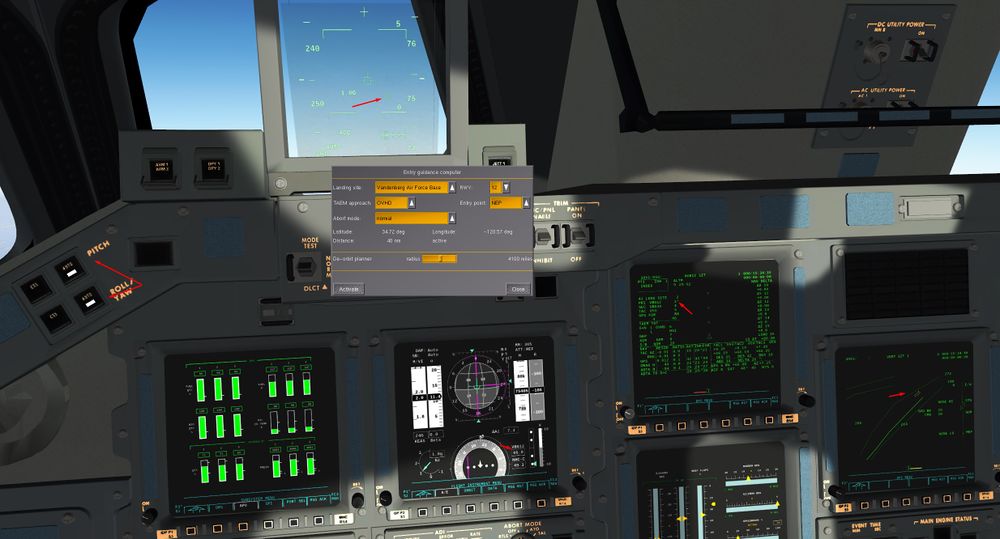
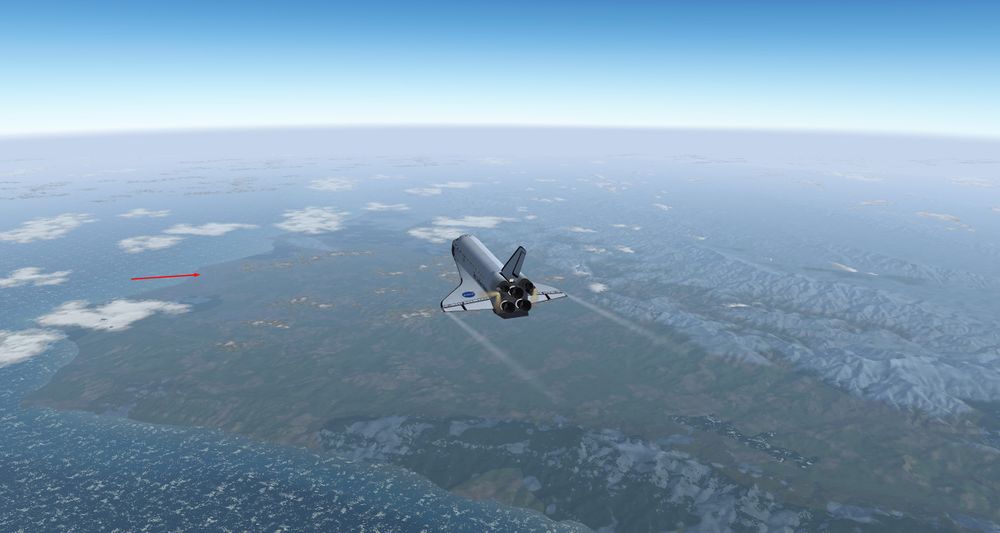
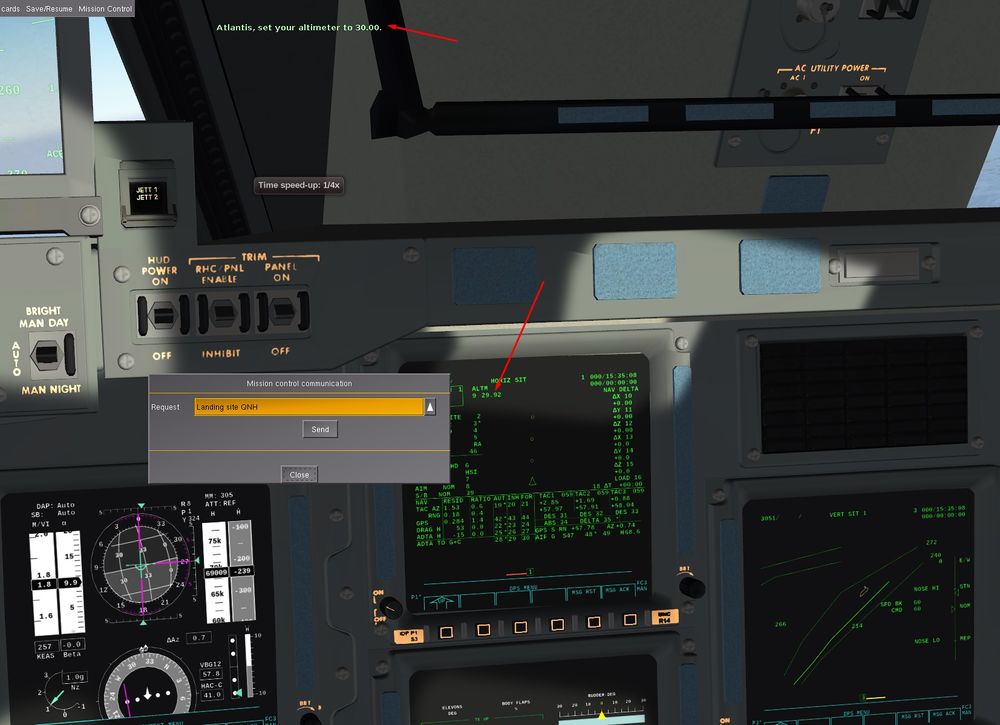
- You're about 60 miles away from Vandenberg AFB. We (intentionally) didn't specify winds, so you might be coming in from any direction - the point of TAEM guidance is that it leads you into the proper approach no matter how you come in. Well, first we need to tell the avionics we actually want to land at Vandenberg, so open Space Shuttle -> Entry Guidance and select Vandenberg AFB as the landing site.
- The right displays (VERT SIT and HORIZ SIT) should already be selected, if not, bring them up. With TAEM guidance active, they should come alive and show a yellow Shuttle symbol sliding down from the upper right to the lower left vertically and three small circles extending from the Shuttle forward horizontally.
The idea is simple - we aim to keep the Shuttle symbol on the central trajectory vertically by changing pitch (and deploying speedbrake if we need to dissipate additional energy).
A couple of things to do if you don't come for the Entry Tutorial. For that, you can use time compression and decrease it, everything happens fast now, so buy you some time.
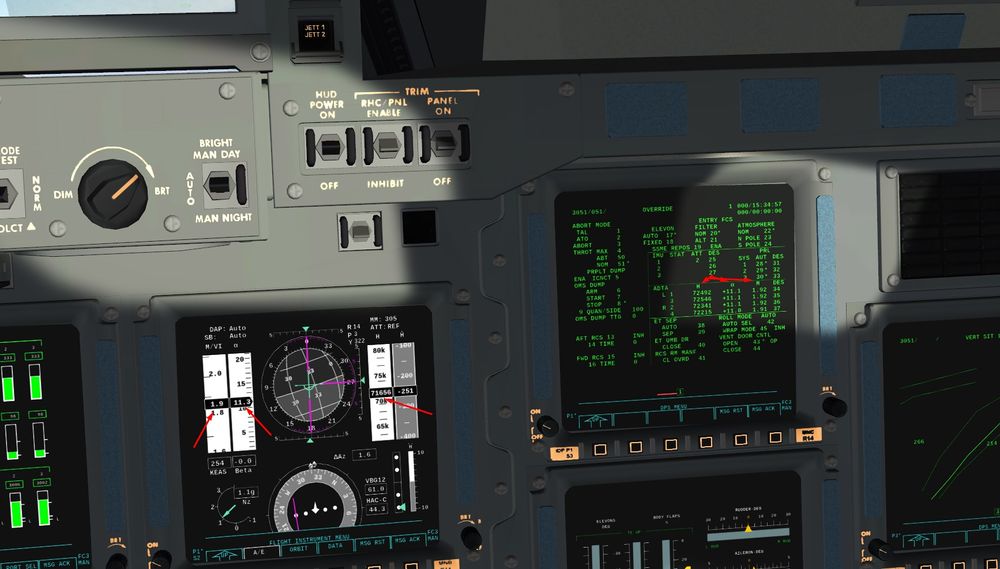
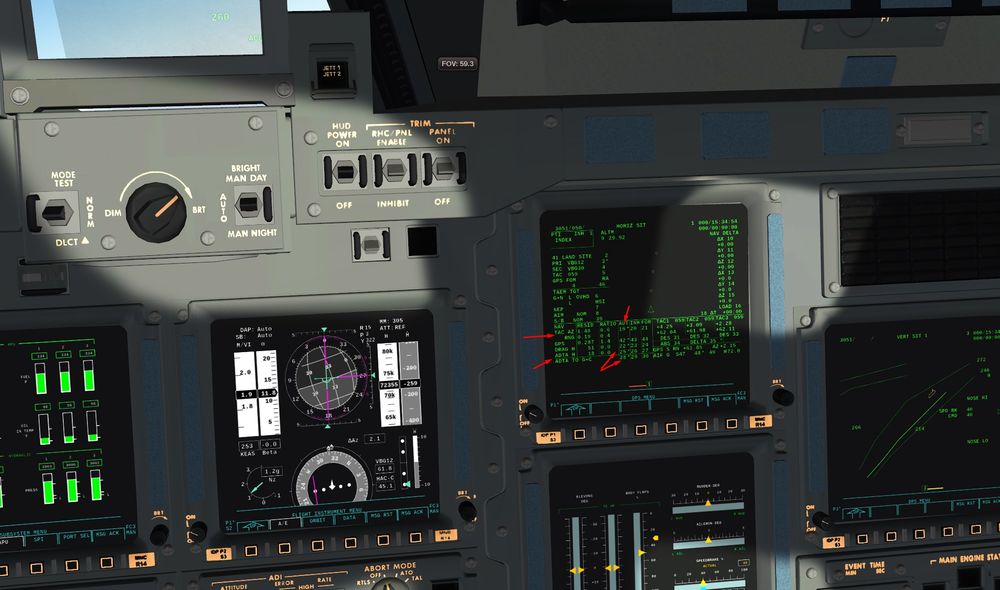
We will check on SPEC 51 PRO the probes value ( Mach, Altitude, Alpha angle) and compared them to those Primary Flight Display fed by the IMU so far.
If everything looks good ie. quite close, we can incorporate ADTA to Guidance and Control Software with ITEM 28 EXEC.
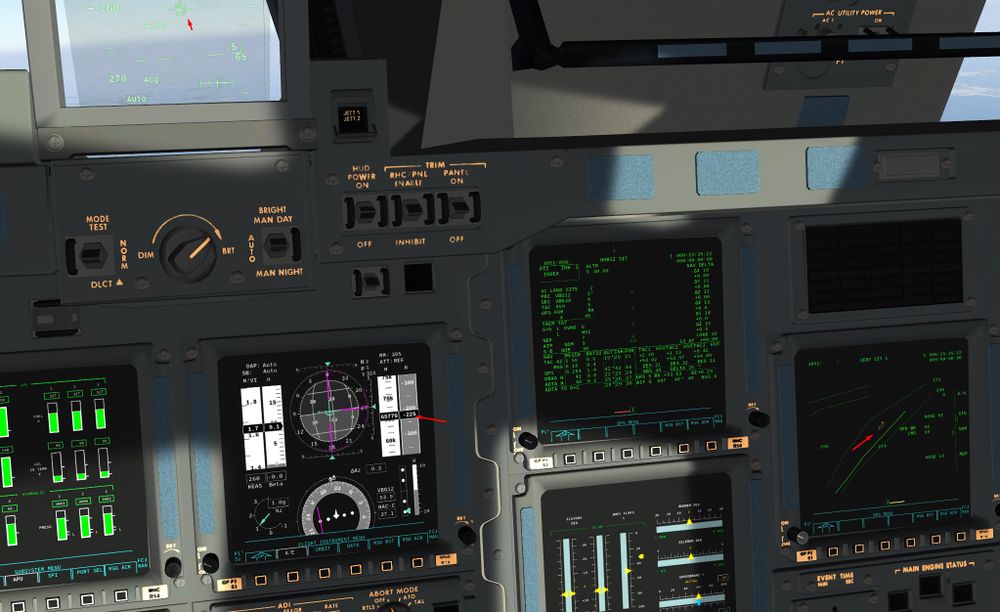
PFD will be fed by Air Data Probes now.
We also incorporate TACAN and Altitude from ADTA (Kalmann Filters) into navigation filter to update the State vector ( SV) by ITEM 19 EXEC and ITEM 25 EXEC
You can also ask to MCC the last QNH (Atmospherical pressure at sea level) and update it into the Spec 50 display, here ITEM 9 +30.00 EXEC
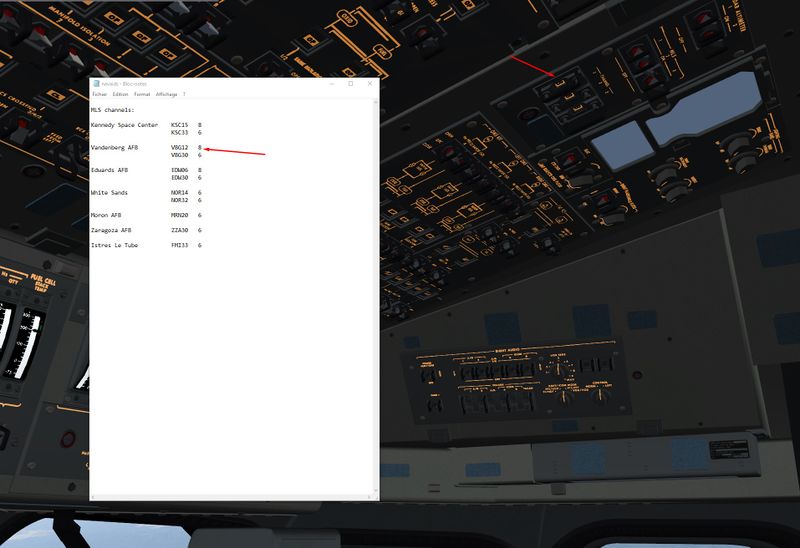
Finally, MLS Channel presets ( done in Orbit befor entry normally) according to the Landing Runway you chose.
Horizontally the trajectory predictors tell where we'll be in 20, 40 and 60 seconds if we keep the current state. We can use them to aim for the heading alignment cone (HAC) intercept point as soon as it becomes visible. For the time being, just make sure we're going with about 240 KEAS and stay on the vertical trajectory, don't maneuver much horizontally.
Expect extremely high descent rates during the whole pattern - in subsonic flight, the Shuttle drops a good 7000 ft/min, in the early supersonic stage it might drop even faster than this to stay on the trajectory. The glide ratio you can expect at best is some 4.5 in the late phases of the approach (a typical airliner might be closer to 20), so you're not flying a very nimble vessel. The only thing that makes TAEM work is that we come in extremely high and fast and thus have plenty of energy to dissipate.
Going Subsonic, back to Normal Ariplane speed and you can take manual control of the Orbiter when you point by going to CSS Pitch and CSS Roll/Yaw
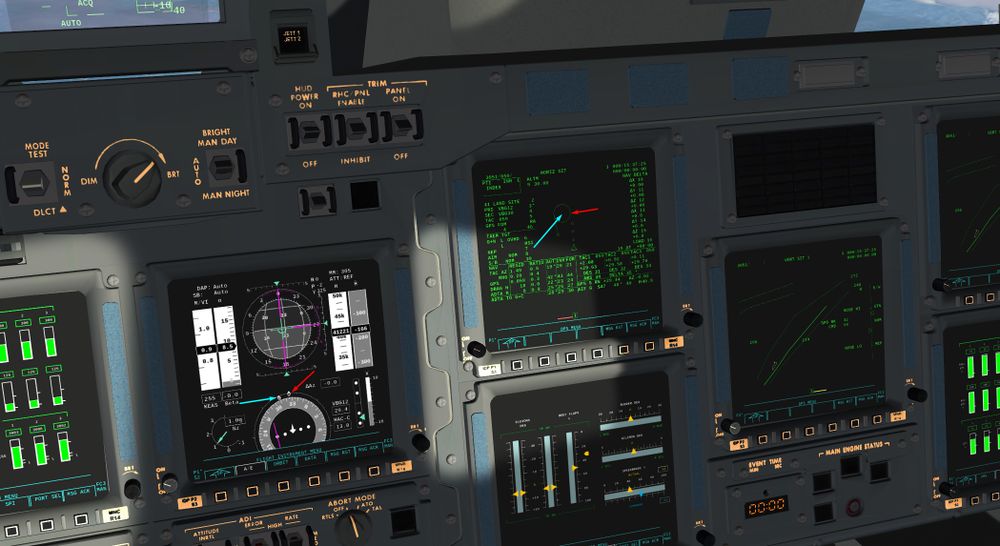
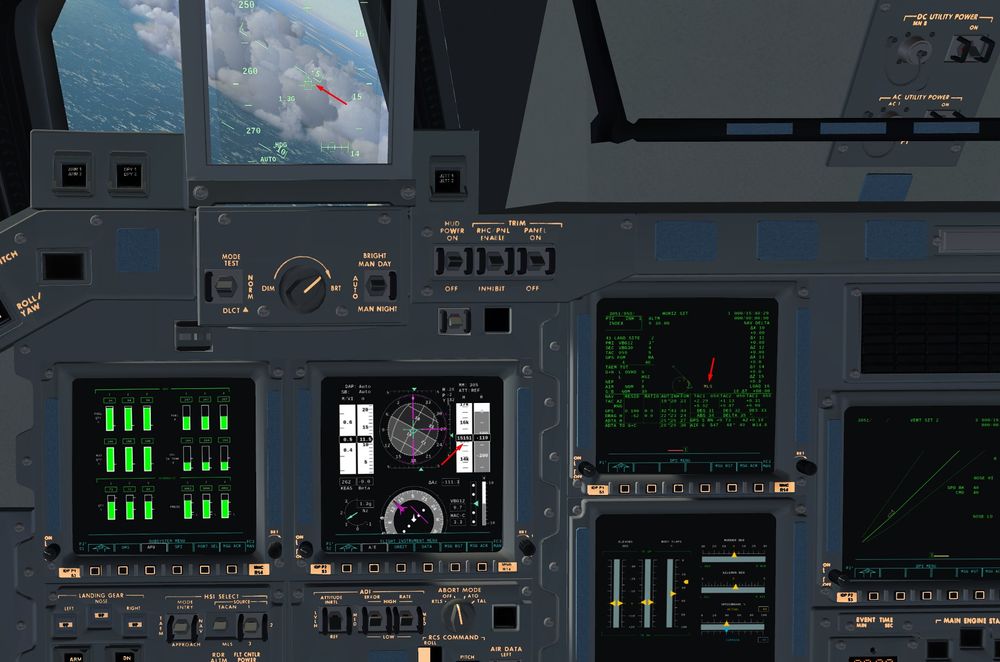
- A minute into the flight or so, you'll see the touchdown point and the HAC come into view. The aim point to intercept the HAC is on the tangent to the circle you're seeing such that when you fly around on the circle, you're led right into the line aiming at the touchdown point. Take a look at the red and blue annotations and their links with the HSI needles ( Center of HAC C, Tangent of HAC H).
Also marked are the TACAN azimuth and range readings - if you fly zero relative azimuth, you'll be led reasonably close to the intercept point. Do a gentle turn to change course towards the intercept point now (and always monitor the vertical situation!).
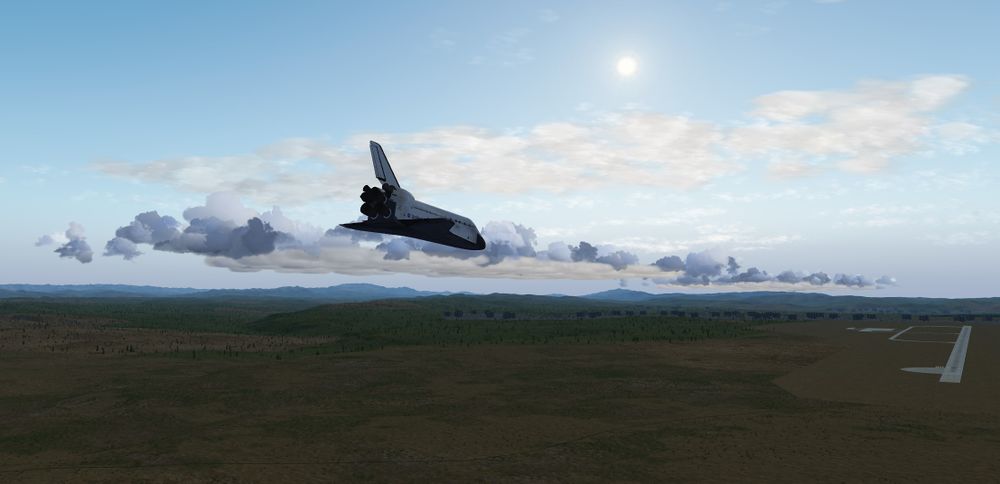
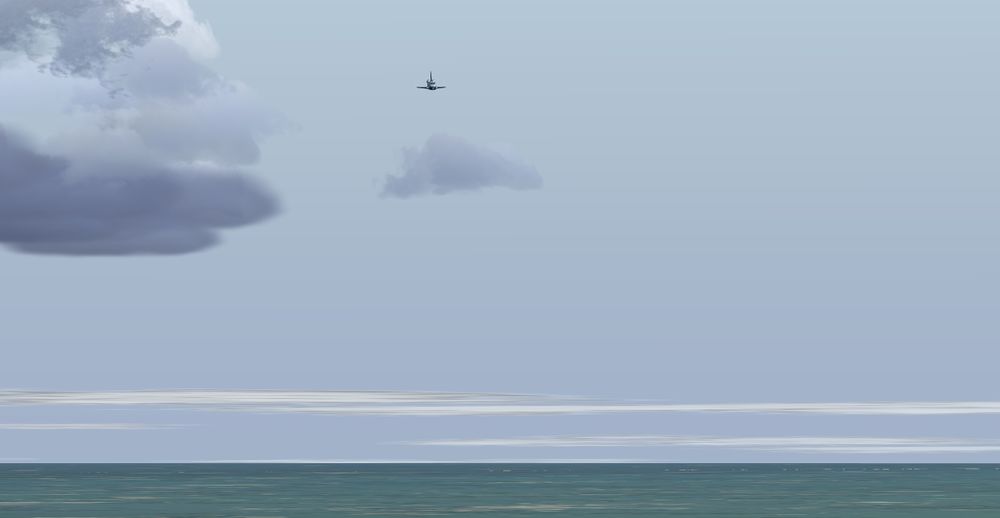
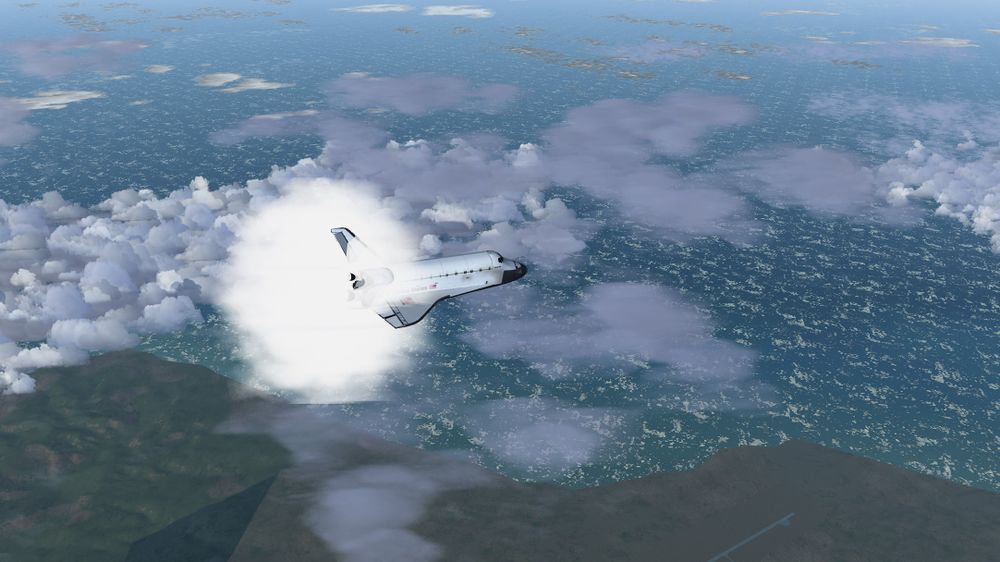
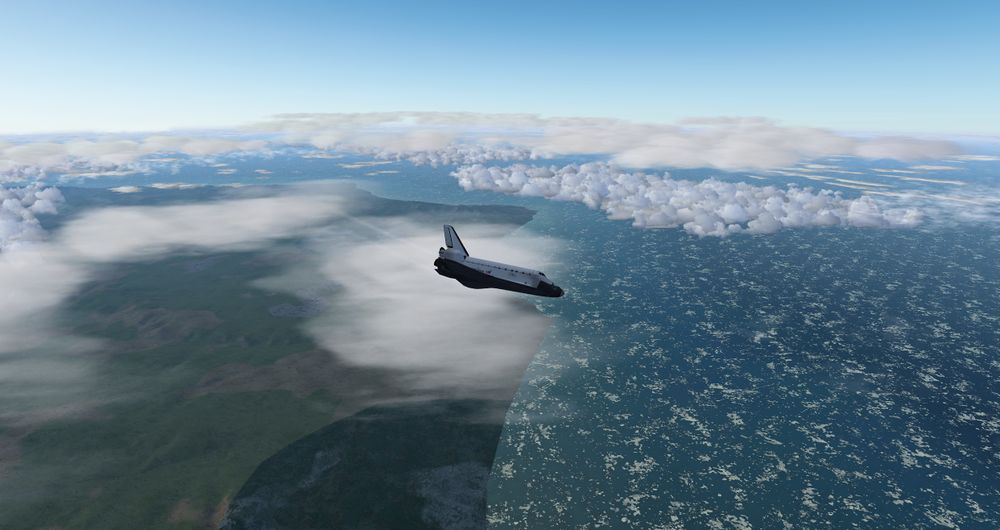
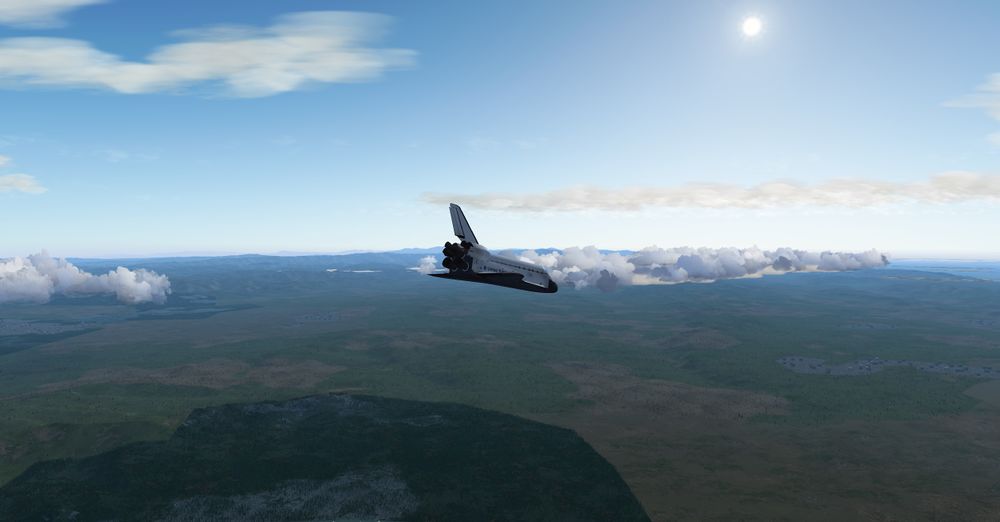
- If you have corrected course, you'll eventually reach the aim point. If the weather is good, you can take a peek outside - as we pass the touchdown point, you should be able to see Vandenberg AFB left underneath clouds as you pass by some 30.000 ft higher entering the HAC.
Once you reach the intercept point, turn such that the track predictors fall right onto the circle, then you have the right turn radius. It's easy to lose control of airspeed or vertical situation at this point. Anticipate about a 30 degree bank angle and that you'll lose lift when turning, so if you have the speedbrake deployed, retract it a notch or two to compensate.
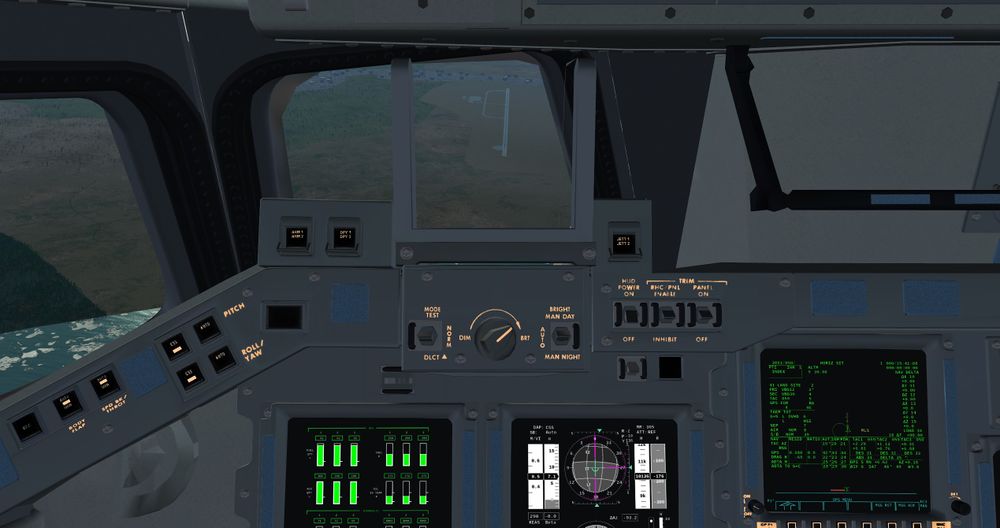
Last turn, a view by the Commander window
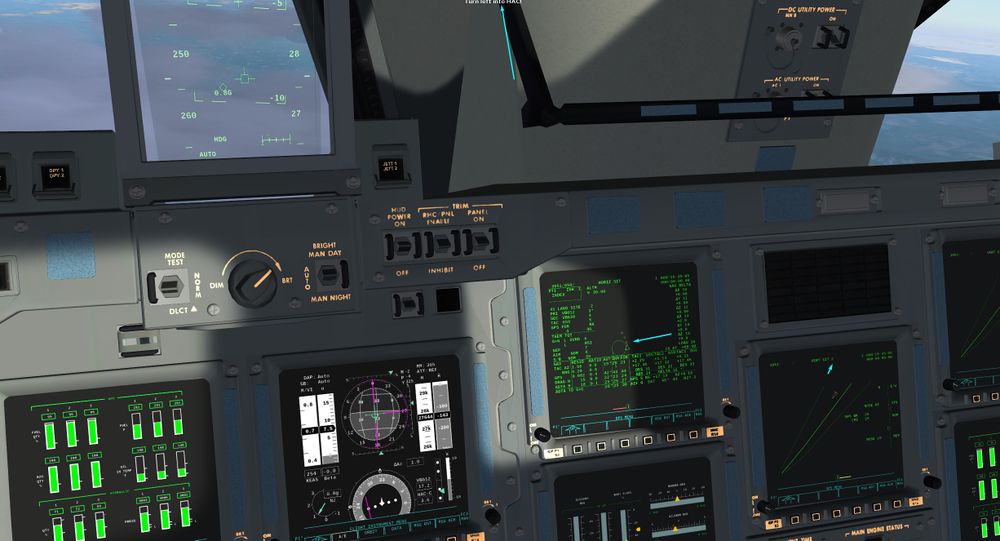
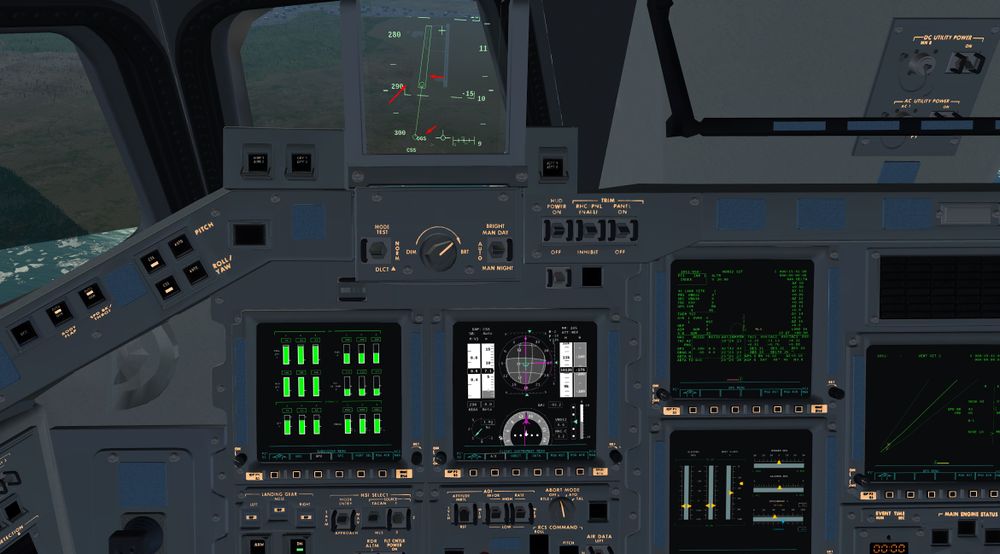
At 15000 feet, MLS becomes active (MLS in Yellow Spec 50). SV is more precise, and flight director in the HUD should give you precise guidance for navigation.
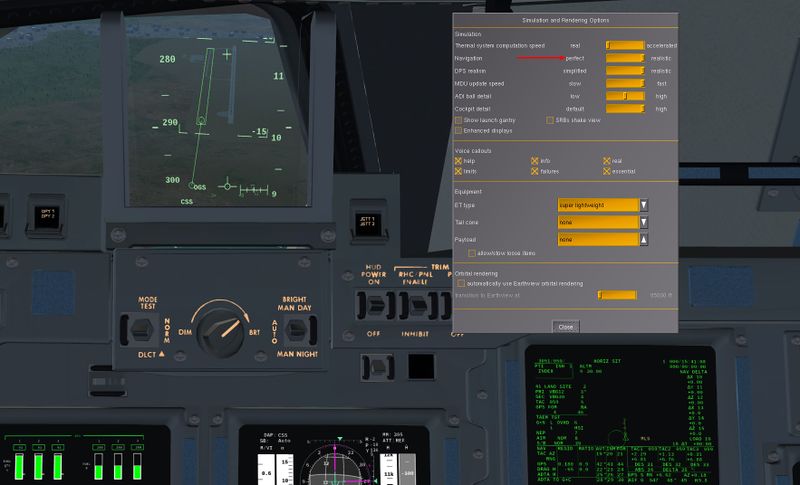
If you've done well, you should be able to leave the HAC right where the line points to the touchdown point in long final. You see in the HUD that the virtual runway fed by IMU and Nav filters ( TACAN, MLS, GPS etc) is a bit to the left of the real one, this is due to Nav errors and IMU drift. No big deal, close enough for final guidance and you can adjust now visually the track. OGS ( Outer Glide Slope) is also active in the HUD, be prepared to take a 15 to 20 ° glide path
Advice if you begin, Select Navigation Perfect to have the virtual runway exactly ot the real runway, it will help you with Final HUD guidance.
End the turn, wait for the Shuttle to stabilize and then push the nose down to get your visual of the runway - if you've done everything well, you should be somewhat high on energy for your final descent, so be prepared for liberal use of speedbrakes to get down to the touchdown point. Good luck for the final where time is going faster than ever.
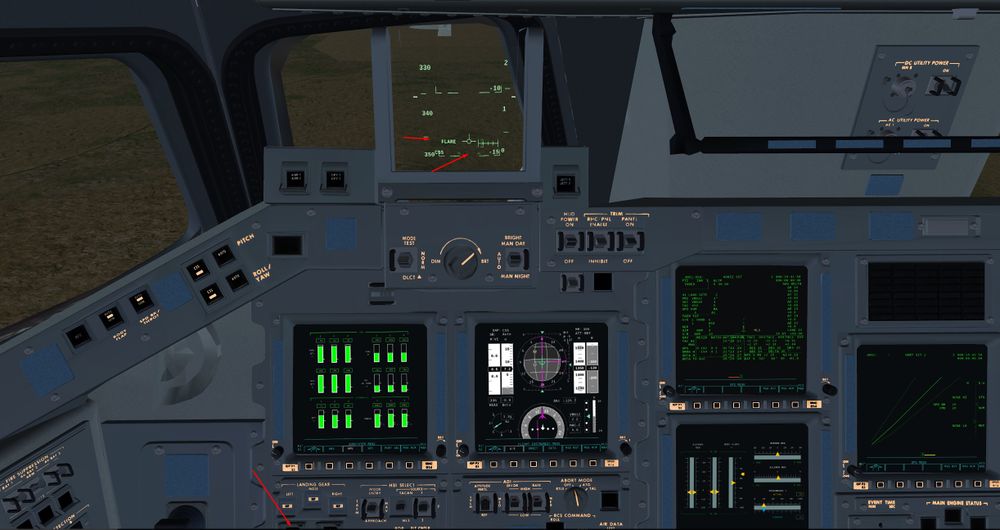
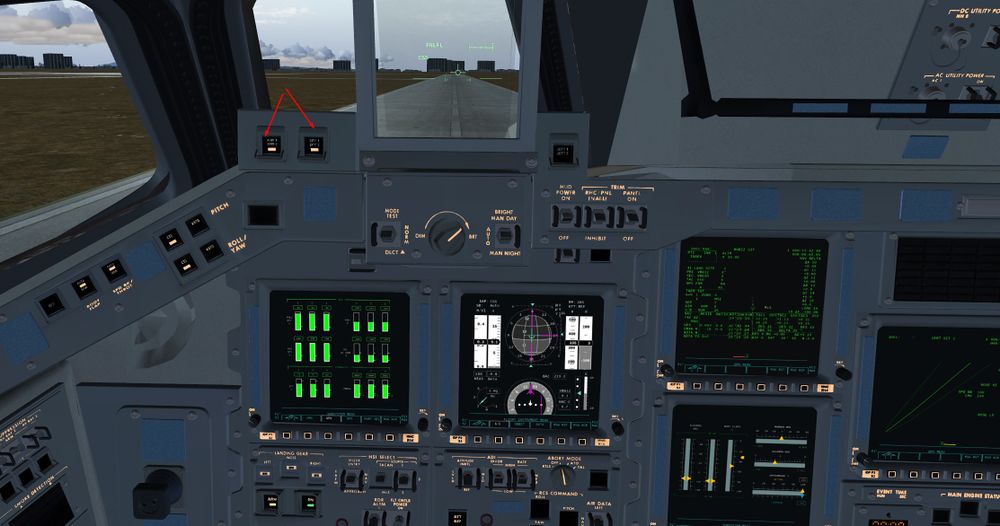
2000 feet RA, Preflare. FLARE and then IGS (Inner Glide Slope) in the HUD and we follow guidance carret to have to good pitch up rate. Also time to arm the Gear. You can declutter the HUD DLCT or Maj+D to have just essential informations in front of you.
Speed will bleed down from 330 kt to 210 kt for the Touch Down in 1 miles, pretty impressive.
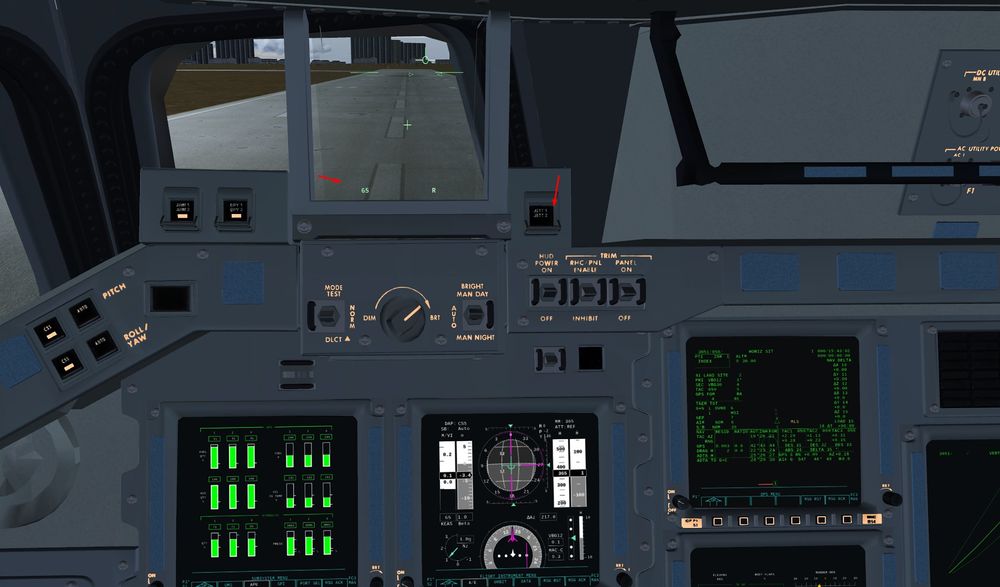
300 feet RA Gear Down, and smooth Final Flare FNLFL in the HUD with Ground Speed bottom left if you are in the Last Declutter mode. Flare is long, you will fly over at least a good km of the runway before touching at less than 6 ft/s of Vertical Speed Ideally. Look far in front of you and maintain the Flight Path Vector ( Circle) just below the horizon line and wait for the Touch around 200 kt.
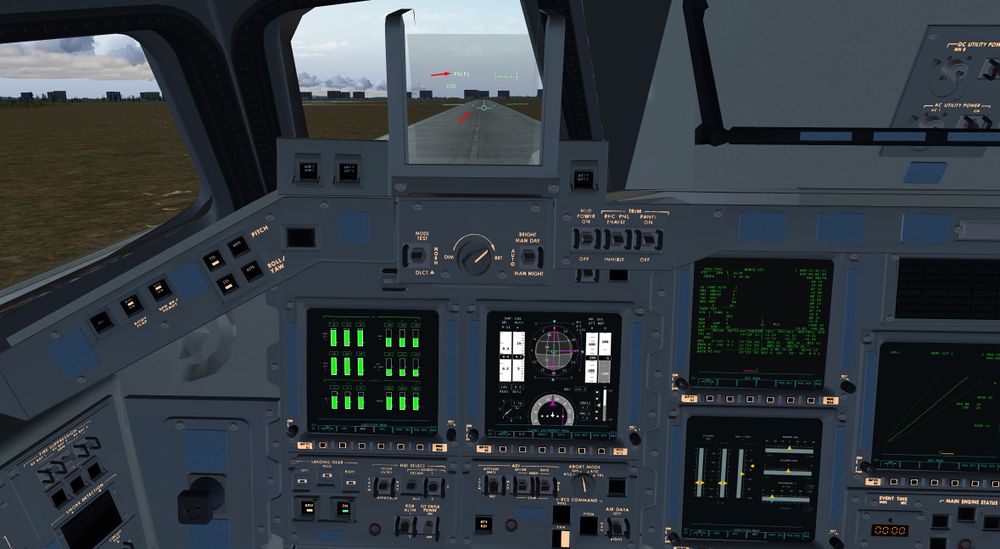
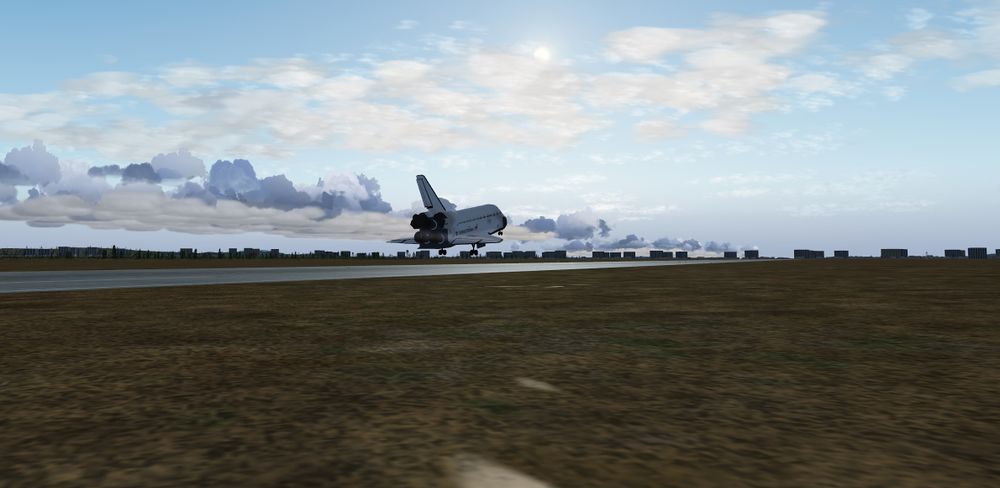
Touch and activate the Drag Chute with Maj+C or with cockpit switch.
Slowly brake and derotate and touch the Nose Wheel on the Runway. Below 60 kt, Chute Jetisson
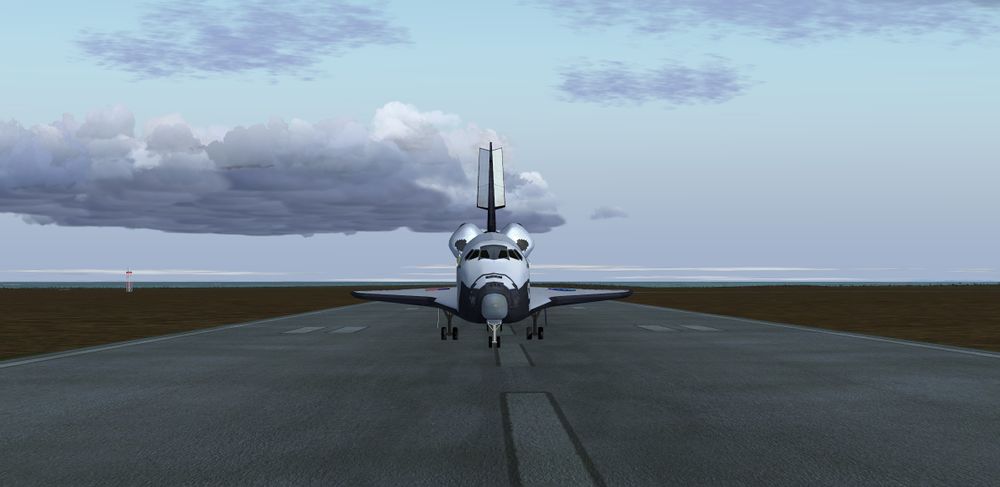
Wheel Stopped, Welcome home and congratulations. You landed the most complex glider in the world!!
