Flying the Shuttle - Entry TAEM and Landing Advanced


| Space Shuttle |
|---|
| Main article |
| Checklists |
| Nominal Operations |
| Nominal Operations Advanced Tutorials |
| Intact Aborts |
| Technical |
| The other space shuttle |
Final steps of the advanced tutorial, the Full Entry phase followed by the Terminal Area Energy Management ( TAEM) and Landing.
More theoritical contents can be found here Flying the Shuttle - Entry and Flying the Shuttle - Final Approach
We will still use the Entry checklist for that tutorial Flying the Shuttle - Space Shuttle Checklists
Entry
1)5 mn before EI, we switch to OPS 304, ideal trajectory appears and we check that we are in Auto for Pitch and Yaw/Roll
It is better to be a bit low than way to high. Between Mach 25 and 17, if we are too high, we will be close to thermal limit, which is of course a hard boundaries and lethal one.

2) EI reached, 400 kfeet and 3700 Nm, all good.

A bit low on trajectory, AP will limit the bank roll to not dive too fast into the atmosphere and keep us a bit longer on minimum Drag/Lift equilibrium trajectory

West Coast in sight

3) When Drag reaches 10 ft/ss ( Drag is measured like an accleration), we check the implementation of DragH in Spec 50.
It is a model allowing to calculate the present altitude with the present drag experienced by the Shuttle and IMU. Important filter to update the State vector (SV)

4) Mach 19 , We check that the Hyd valves of the SSME are closed to avoid abrupt movements from them post landing.

5) Mach 15 , final check that navaids are well configured

We are back on the nominal trajectory, perfect

And a beautiful Sunrise for our coming home

6)Mach 12 , we put back on line the radiators to allow additional cooling ( 15 mn) with the cold Freon trapped during the Cold Soak Procedure.
Rising Exterior pressure does not allow a good ejection anymore of the hot water vapor present in the FES into atmosphere

7)We incorporate now the TACAN into navigation filters to update the SV
In RESID, you can see the difference between measured distance between IMU and TACAN station, and measured distance between TACAN receiver and TACAN station.
Here, value is 1.05, so 1 Nm of difference between real position and estimated position of the Shuttle calculated by the IMU.
ITEM 19

8)Mach 5 , Probes deployed

9)Spec 51 to verify that data from probes are correct (under ADTA). We compare them to those present on the Primary Flight Display (PFD) fed so far by the IMU

If datas are good, we don't delay their incorportation ( before Mach 2)
Item 25 and 28
PFD will be now driven by ADTA ( Air Data Assembly Transducers 2 per probe), and altitude calculated by ADTA will replace the one derived from DragH model for navigation filter.

10) Finally, at Mach 3, we switch On the HUD and check that the APU are working well. ( Fuel remaining, good behavior of water boilers that cool down APU oil and Hydraulic liquid)

Almost there, ready for the last 5 mn of pure adrenalin??
Terminal Area Energy Management (TAEM)
Well, we are now at Mach 2, just below 100000 feet, runway in sight, and some distance to glide with a brick
By two times, by taking screens and piloting, I crashed the Shuttle into the Swamps
So, I restarted directly the scenario at TAEM Phase. I arrived by the South instead of the East with our scenario. No big issues here, steps to follow will be the same.

1)We are in OPS 305 ( Vert Sit 1 then 2), 80000 feet to dive into without exceeding 330 kts and 2.5 G
[img]http://imageshack.com/a/img923/1950/K6hTRB.jpg[/img]
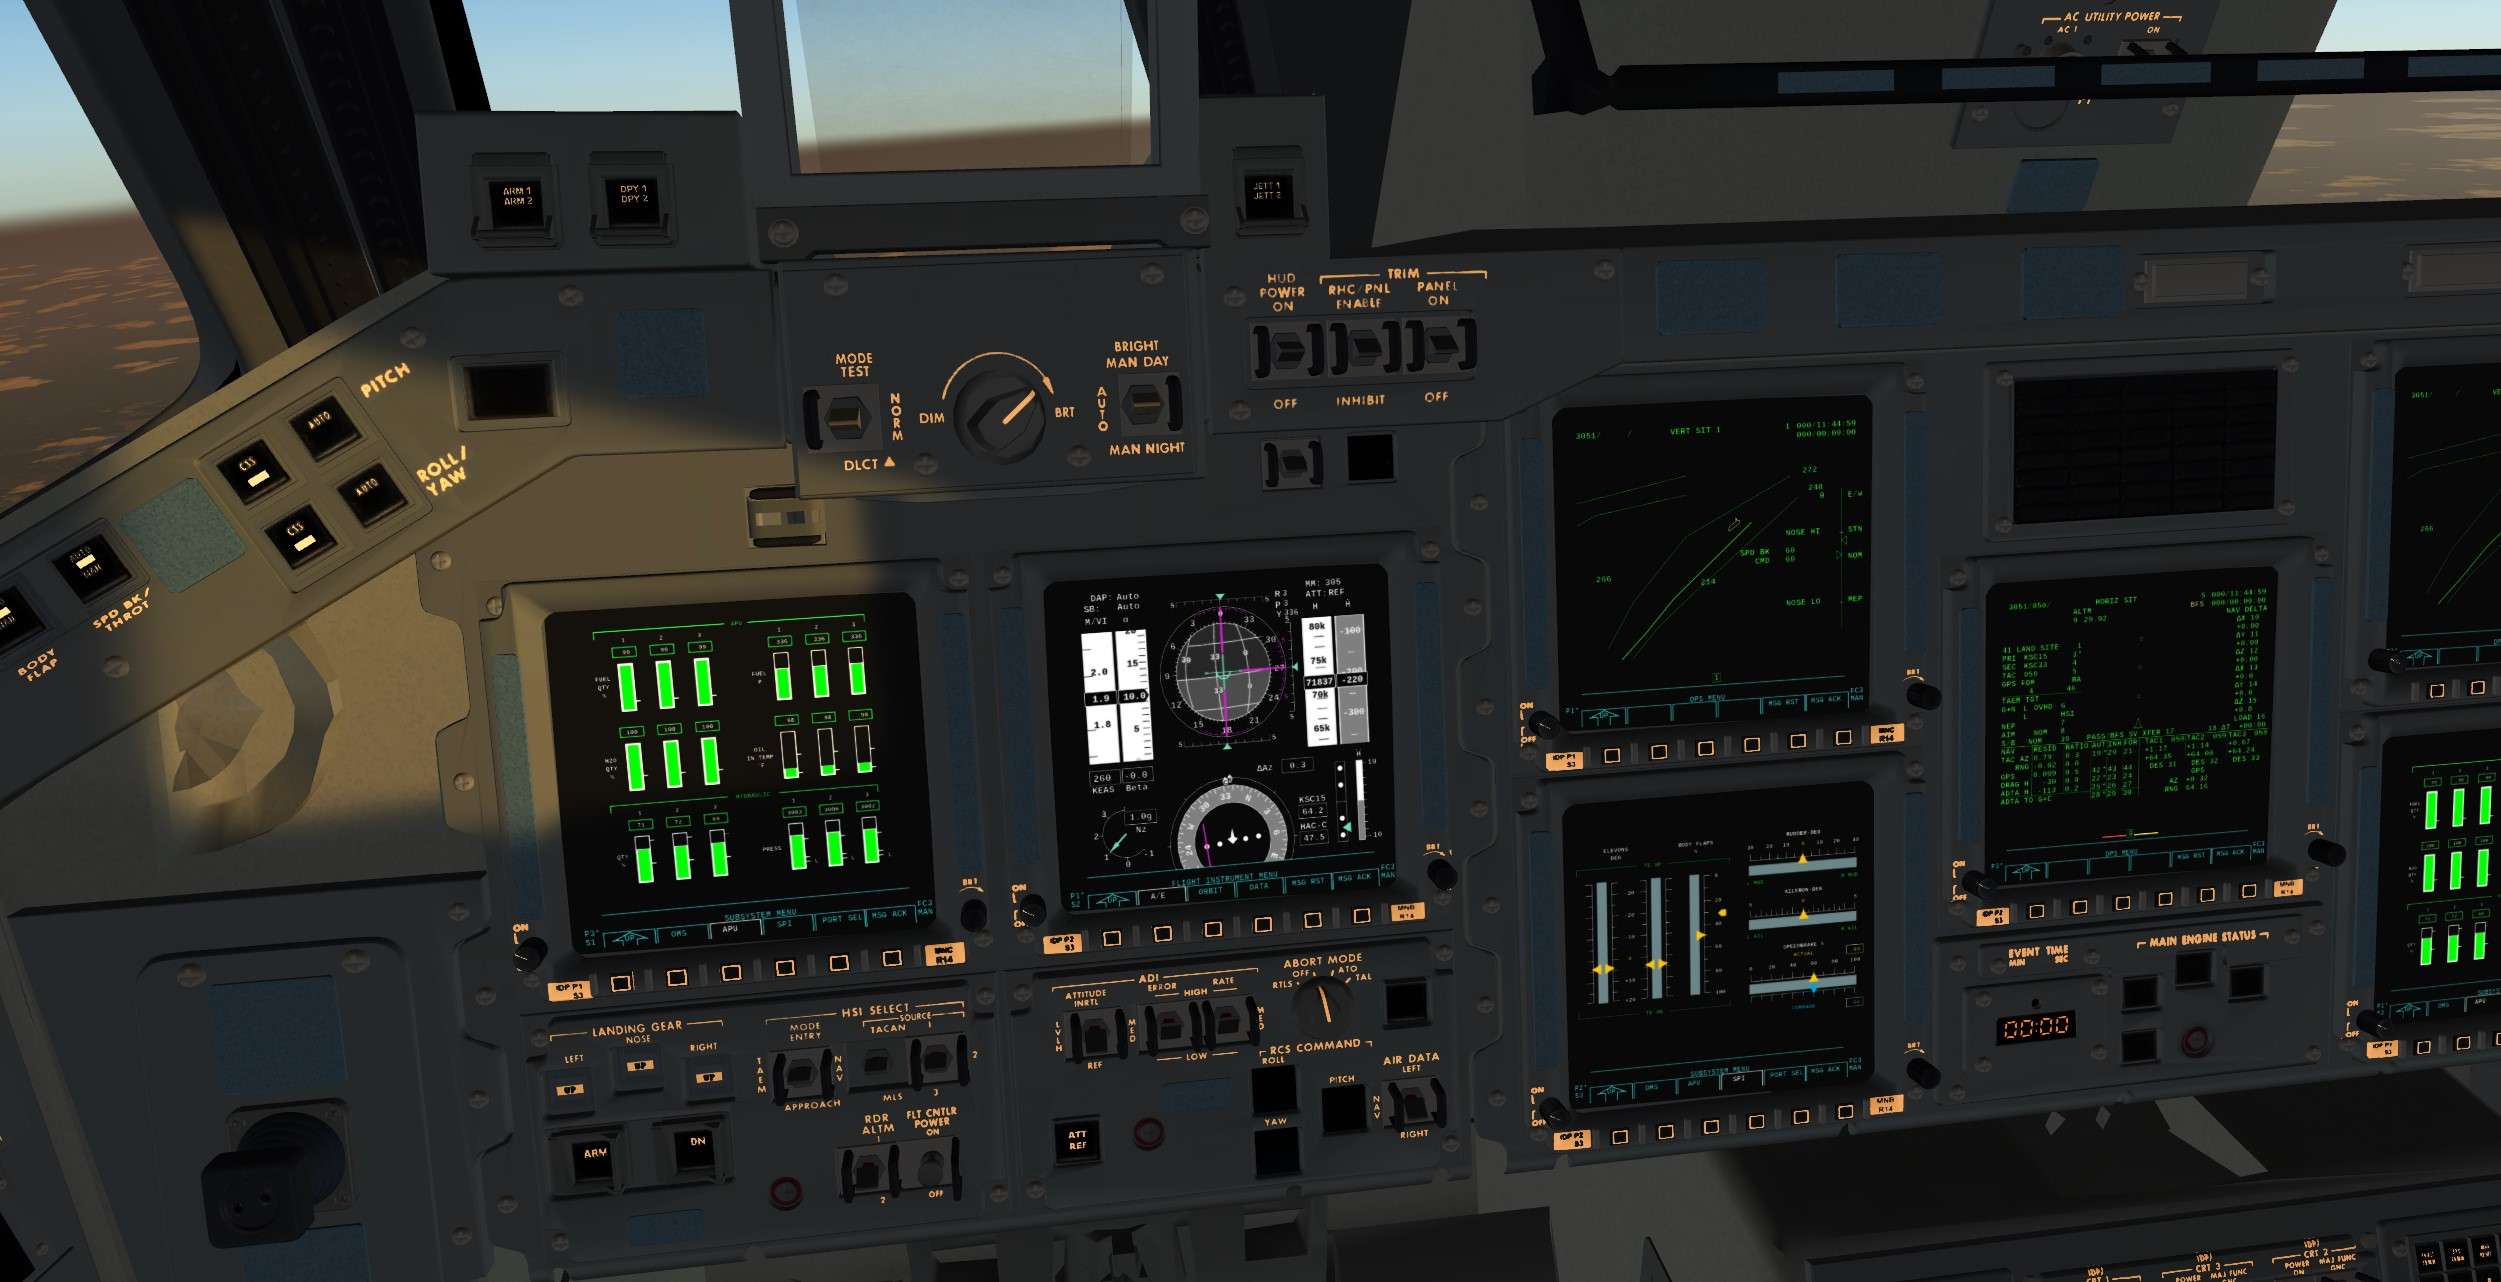
Mach 1, we check flight controls and we take the beast in manual ( CSS en Pitch et Yaw/Roll)

Mach 1, we check flight controls and we take the beast in manual ( CSS en Pitch et Yaw/Roll)

2)Closing to the HAC, big 180 ° to perform to be aligned with the runway at 7 Nm/12000 feet

3) Becoming Subsonic, always an amazing look out

4)Entering the HAC, steep turn of 45 ° and some G's during the turn


5) Around 15000 feet in long final, we check that MLS is activated ( MLS in yellow) and update the SV much better than the TACAN


Final Approach and Landing
6)10000 pieds, Mode A/L ( Approach Landing ) should flash and OGS ( Outer Glide Slope) should be present in the HUD

7)Runway in sight, small difference between the State Vector Virtual Runway and the real one ( a bit to the right). We correct visually now ( or you can switch perfect navigation in the options)

2000 feet RA, Gear Armed and Pre Flare ( we follow the hook in the HUD) and we can Declutter the HUD informations with the button bottom left of the HUD DCLT.


8) 300 feet RA, Gear Down

And Final Flare ( FNLFL). We try to put the velocity vector ( circle in the Hud) far on the horizon and on the 0° pitch line. We try to touch smoothly around 210 kt ( a bit fast on the picture) and less than 6 fr/s of vertical velocity
We can declutter one more time the HUD for final flare to just show Speed, Radio altitude and Velocity Vector.


9)195 kts, Drag Chute armed and deployed

185 kts, Slow derotate to touch the Nose Wheel and smooth braking.


60 kts Drag chute jettisoned

Wheels Stopped, Welcome Back Atlantis and Good Job


Back to the Cape in one piece after following 90 % of the real procedures, awsome isn't it?
End of the journey ( long maybe ).Hope it was not too exhaustive.
Once you will be confident with the nominal Operations, you can push your limits and try Intact and Contigency aborts, full of fun also.