3D clouds


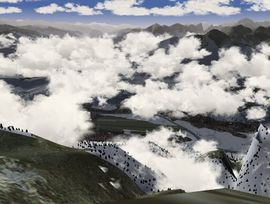
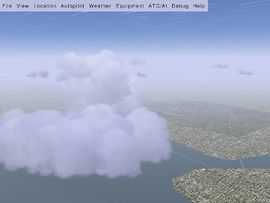
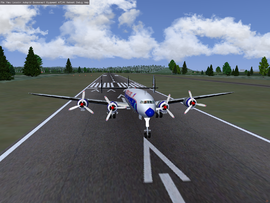
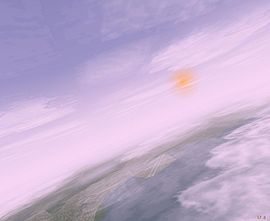
FlightGears weather system uses 3D clouds for a realistic reproduction of the sky. 3D clouds have been present since version 0.9.1, and significantly updated in version 0.9.9.
When FlightGear switched from PLIB to OSG the 3D clouds were temporarily lost. As of October 2008 the clouds were back in FlightGear CVS and released with FlightGear 1.9.0 that December. Current development versions feature an improved 3D cloud rendering system that will be included in the next release.
Cloud shapes and layers
Note: the cloud XML format in CVS is currently undergoing renovation to allow more control, and more natural looking clouds.
A 3D cloud layer is defined in the <layers> section. It contains of a number of randomly located <boxes>, containing a set of <clouds>.
Each cloud is generated with random size, based on the following tags:
<min-cloud-width-m>
<max-cloud-width-m>
<min-cloud-height-m>
<max-cloud-height-m>
The cloud consists of <num-sprites> individual sprites. Each sprite is generated with random size, based on the following tags:
<min-sprite-width-m>
<max-sprite-width-m>
<min-sprite-height-m>
<max-sprite-height-m>
The <texture> defines the texture file to be used for the sprite. The texture file may contain more than one texture in a grid, by setting the <num-textures-x> and <num-textures-y> tags.
Clouds are darker towards the bottom. bottom-shade indicates the shading factor of the bottom of the cloud compared with the top.
Finally, note that the clouds are defined as a set of properties, so they can be modified within the simulator under /environment/cloud-layers. You can then see the effects of your changes by changing the clouds dialog, which reloads the clouds from properties.
Cloud Textures
Advice for those editing cloud textures:
- Place a black layer behind the clouds you are editing. This makes it easier to see the white clouds, and in particular spot posterization. Note that GIMP appears to have a bug in that simply changing the transparency colour to black under Preferences->Display changes the background to black.
- Display a grid of the appropriate dimensions to ensure you don't draw clouds over the texture boundaries. Otherwise the clouds can bleed into each other and you can see nasty vertical and horizontal edges.
- Use a white airbrush and a smudge tool to make the cloud textures look random.


