Howto:Build and run FlightGear on Raspberry Pi 4: Difference between revisions
| Line 59: | Line 59: | ||
gdb: bt | gdb: bt | ||
</syntaxhighlight> | </syntaxhighlight> | ||
Revision as of 02:59, 6 January 2021
It is now possible to run FlightGear on a Raspberry Pi, starting with the model Pi 4. The objective of Howto:Build and run FlightGear on Raspberry Pi 4 is to introduce Pi users to FlightGear and possibly FlightGear users to the Raspberry Pi family. One of the main objectives of the Raspberry Pi is education. Hopefully this marriage will introduce some young programmers to FlightGear. Although this will mainly deal with the Pi 4, other models may find applications in the area of flight panels and instruments.
Gallery
Raspberry Pi4
Raspberry Pi4

Raspberry Pi4
Raspberry Pi4

Raspberry Pi4

Raspberry Pi4

Raspberry Pi4
Raspberry Pi4
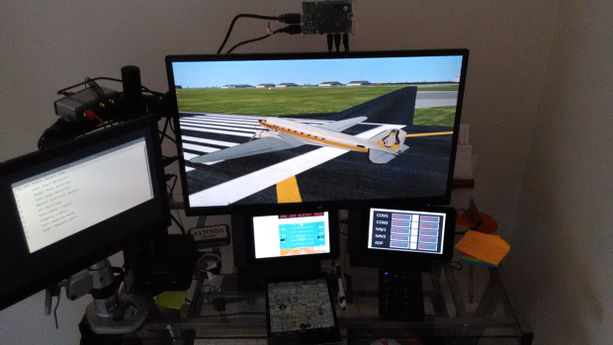
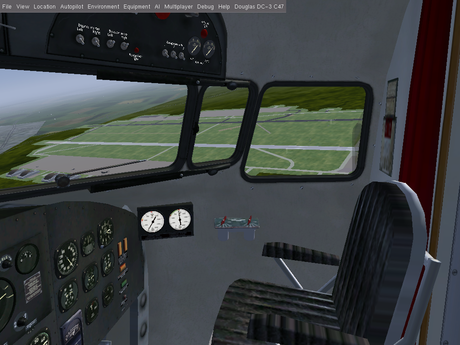
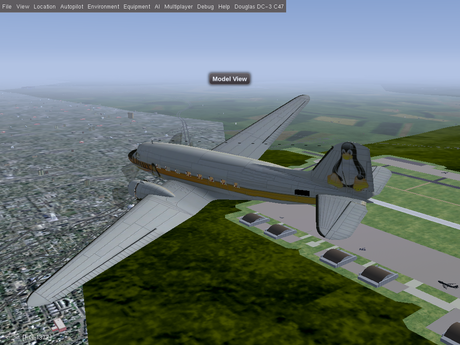
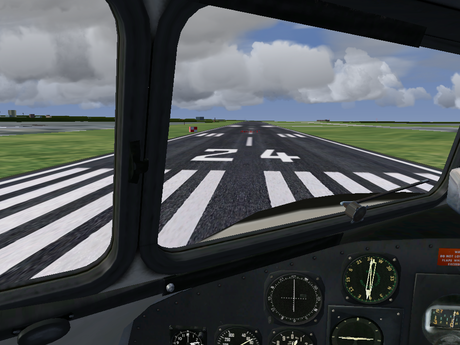
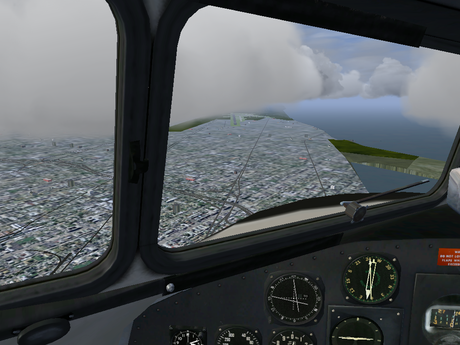
Raspberry Pi4 running flightGear. One touchscreen and Raspberry P3 A+ with Phi PFD and a second with Phi radio stack.


Update Raspbian
Use the below commands to update your Raspberry Pi:
sudo apt-get update
sudo apt-get full-upgrade
Do not use the below update command unless you know how and why to use it. This command will install experimental software that has a good chance of breaking your operating system. It is like flying into a thunder storm cloud.
sudo rpi-update (DO NOT USE)
Backtrace using gdb: and Download_and_compile.sh
Tracking down a crash with double free corruption (fasttop)
Set environment variable:
set environment MALLOC_CHECK_ 2Next run FlightGear with debug:
./run_fgfs_debug.sh --launcher
Use the below gdb commands handle SIGPIPE nostop and handle SIG32 nostop to skip innocent events:
gdb: handle SIGPIPE nostop
gdb: handle SIG32 nostop
Use r within gdb to run FlightGear:
gdb: rAfter the crash use the gdb command bt to print the backtrace:
gdb: bt