Downloading New Flightgear Scenery for Windows XP
From wiki.flightgear.org
Here we will describe and show in pictures how to download scenery from the FlightGear.org website.
Before you begin make sure you have a program such as WinZip or 7-Zip to enable you to extract the files required after download. These are free to download from the internet just Google them.
Contents |
Step one
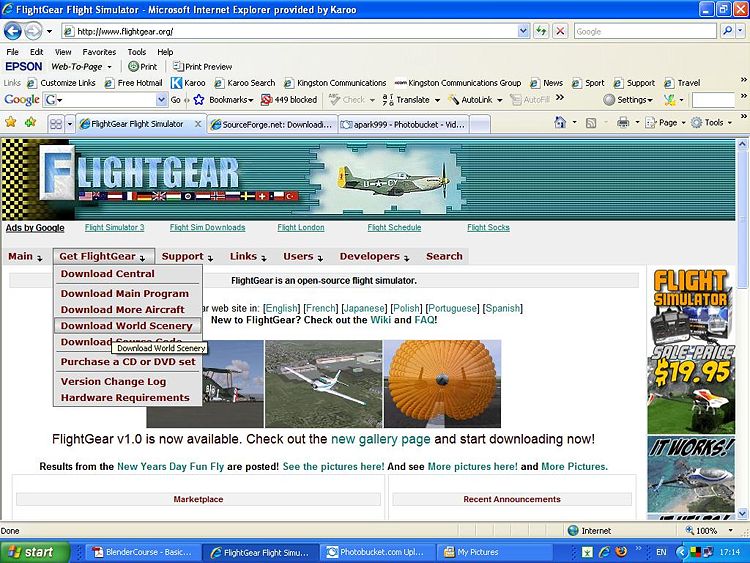
Goto the website and click on GET FLIGHTGEAR then DOWNLOAD WORLD SCENERY.
Step two
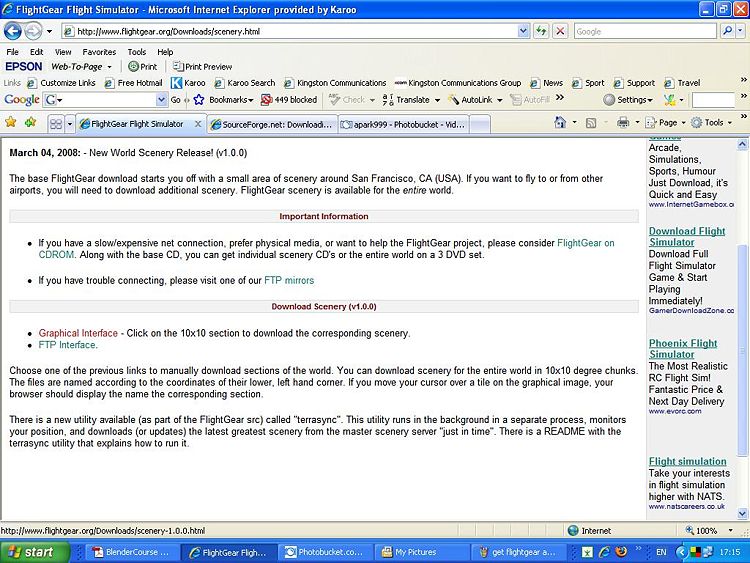
You will be presented with the following screen, click on either of the GRAPHICAL INTERFACE or FTP DOWNLOAD it doesnt matter which. But the easiest way is to use the Graphical Interface, so we will use that.
Step three
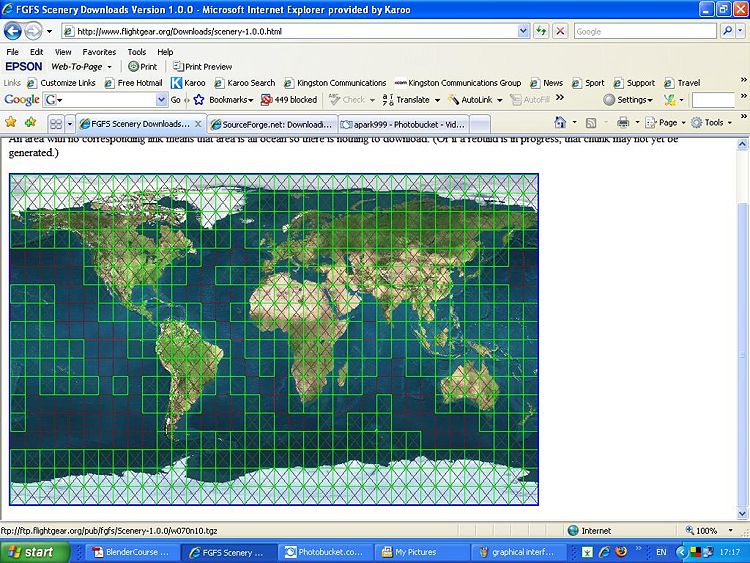
You will now see a map of the world divided into small squares. Each of the tiles is ten degrees squared of latitude/longitude. Click on any of the squares that you require. Obviously some squares contain more land and thus more information so will take longer to load. Each square will tell you how many MB of memory they will take up.
Step four
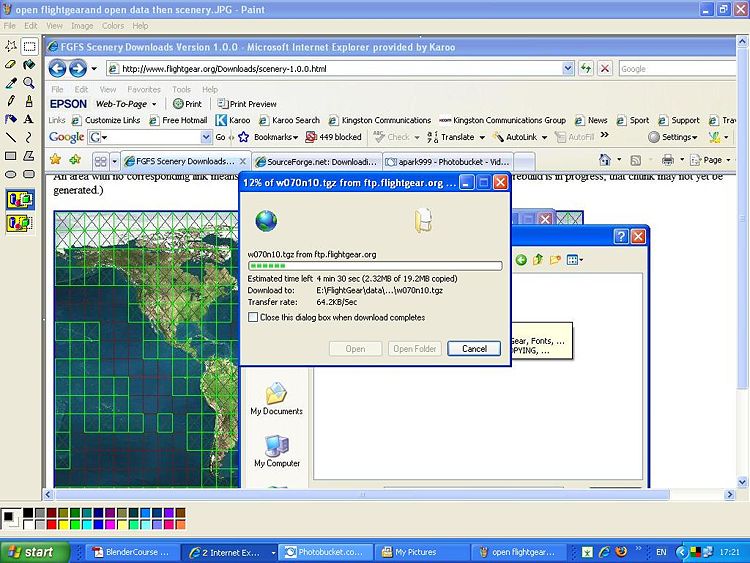
Once you have clicked on the area you wish to download, you will be asked to save the file. Click save. It will then ask you where you want to save the file to. Depending on where you have the Flightgear Folder, it will depend on where you will be saving the scenery to. If, for example, you have the FlightGear folder in the c:/ directory, you simply go to the c directory find FlightGear folder and open it. Open the Data folder and in the Data folder you will see lots of other folders. One of these will say SCENERY. Open this and you will see two folder called TERRAIN and OBJECTS. You will be downloading the new scenery into the SCENERY FOLDER.
Step Five and nearly there.
Once downloaded go into the SCENERY FOLDER and you will find the zipped file. This zipped file is a file that has been compressed to make it smaller and more manageable to download.
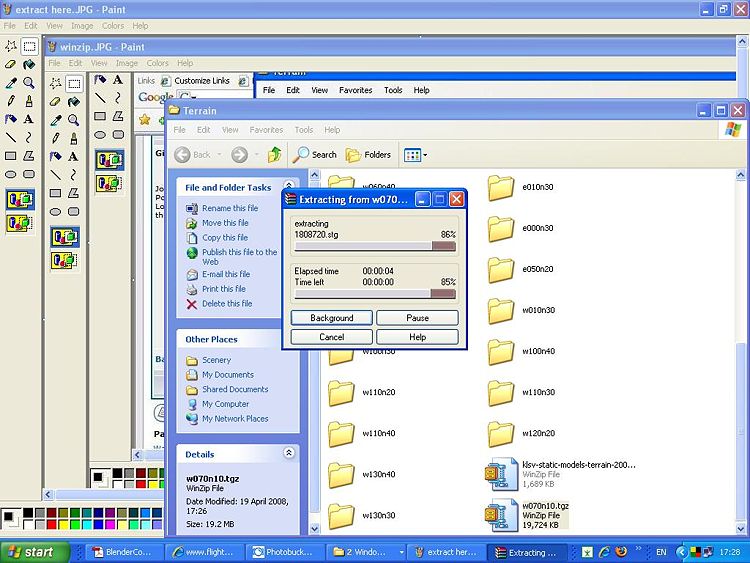
This is where you will need to use the WINZIp or 7-Zip program. I used WinZip so i will show pics and describe this way, for any other program follow the instructions given.
Right click on the zipped file and select: EXTRACT HERE. You will get the following page happening all being well. As soon as it has extracted the relevant folder will go into TERRAIN and OBJECTS automatically.
Step six
Start FlightGear, when you get to the screen where you select the airport you want to start from, press the REFRESH button. Once the system has refreshed you should see the airports from the scenery you have downloaded appear.
JOB DONE :-)
Don't forget that Flighgear is work in progress. The tile that you download may well have the runways in place but no airport building such as Hangers,Air Traffic Control Towers and such like.
This is the fun part where you can get involved and play an active part by downloading a 3d modelling program, such as SKETCHUP and creating the buildings to go where you want them to be. There are many tutorials on modelling buildings both in the WIKI, in the forums and on the WEB.
--Maverickalex 16:36, 24 May 2008 (EDT)
