Raspberry OS setup: Difference between revisions
(Created page with "== Raspberry PI == The Raspberry Pi is a series of small single-board computers developed in the United Kingdom by the Raspberry Pi Foundation to promote the teaching of basic...") |
(No difference)
|
Revision as of 20:28, 15 June 2017
Raspberry PI
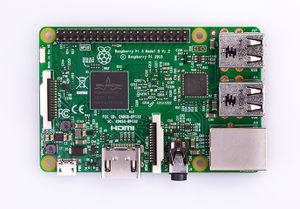
The Raspberry Pi is a series of small single-board computers developed in the United Kingdom by the Raspberry Pi Foundation to promote the teaching of basic computer science in schools and in developing countries. [Raspberry Pi Wiki]
Last Generation are provided with :
- Broadcom BCM2837
- 1.2 GHz 64-bit quad-core ARM Cortex-A53
- Broadcom VideoCore IV @ 250 MHz (BCM2837: 3D part of GPU @ 300 MHz, video part of GPU @ 400 MHz)[53][54]
- OpenGL ES 2.0 (BCM2835, BCM2836: 24 GFLOPS / BCM2837: 28.8 GFLOPS)
- MPEG-2 and VC-1 (with license),[55] 1080p30 H.264/MPEG-4 AVC high-profile decoder and encoder[16] (BCM2837: 1080p60)
- 1 GB RAM (shared with GPU)
- 40 Pin I/O connector
Linux operating system can be deployed on this board. I/O connector give access to some interesting buses as like the I2C.
OS setup
FG interface is not packaged in the form of a distribution. You will need to install an OS before deploying FG Interface.
In order to be on to be always up to date, I have chosen the official distribution of raspberry: Raspbian.
There is no problem in using other distribution (Pidora, archlinux ... etc) with FG Interface, as long as Python 3 and its smbus modules (I2C management) are available.
Download Raspbian
So, first step will be to download Raspbian distribution. [Download Raspbian]
Download the RASPBIAN JESSIE LITE version (Zip file)
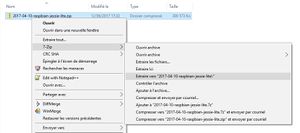
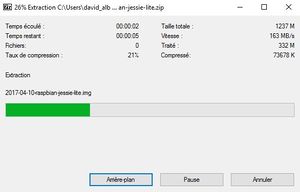
Unzip & Burn the Raspbian
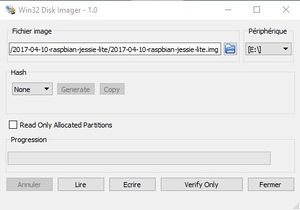
You have now to unzip & burn the image on sd card. So plugin your SD Card into your card reader. The SD card will be totally erased, so if you have content in it, make backup now.
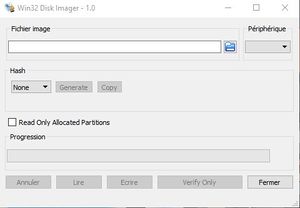
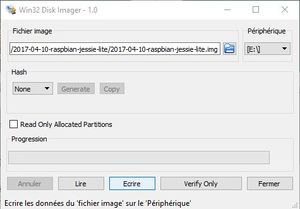
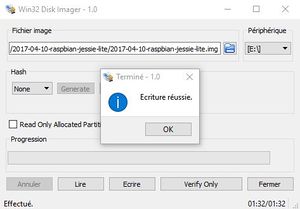
I have formated & writing the img with the Win32DiskImager tool under Windows but under linux you can use [Etcher].
More details on installation procedure : https://www.raspberrypi.org/documentation/installation/installing-images/README.md.
Start SSH Daemon at Boot time
By Default, ssh daemon is not anymore active by default.
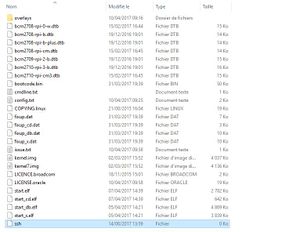
To activate the ssh daemon at boot time, you need to add an empty file named ssh (without any extension) on the /boot partition of your SD Card
You can now plugin your sd card into your raspberry pi
Boot raspberry and 1st connexion
Plug your RJ45 network interface & plug power. 1st time raspberry is booted, you have to log in with the following credentials :
- user : pi
- password : raspberry
Update Raspbian
To be sure to be up to date, please udpate your operating system on the rasberry.
| Work in progress This article or section will be worked on in the upcoming hours or days. Note: Writing in process See history for the latest developments. |
