Howto:Creating 3D instruments
Introduction: This tutorial describes the basic process of creating a 3d instrument for use in FlightGear. For now, we're assuming that you have created the actual 3d model to use and wish to include it in a cockpit and animate it. As an example, we will be animating the ITT gauge for the Fokker 50.
What you need: You will need; a text editor (even notepad will do, but one that does syntax highlighting might help you spot typos more easily; if you're on Windows, Notepad++ looks suitable.
You will also need your 3d modelling package, and of course a copy of FlightGear.
Creating the XML file: The first step is to create an XML file which will load the 3d model and animate it. There are no hard and fast rules about where these files should live or what they must be called, but we'll follow the fairly standard procedure of calling it itt.xml and placing it in the Models directory.
So, using your favourite text editor, create a file called itt.xml in the Aircraft/fokker50/Models directory (folder).
It should start like this (and please remember that case is ALWAYS important);
<?xml version="1.0"?>
<PropertyList>
</PropertyList>
Everything you will add to this file must go between the <PropertyList> tags.
Now, our file does nothing useful at this point. First of all, we want to tell FG to load the 3d model of our instrument. Add a section under <PropertyList> like this;
<path>itt.ac</path>
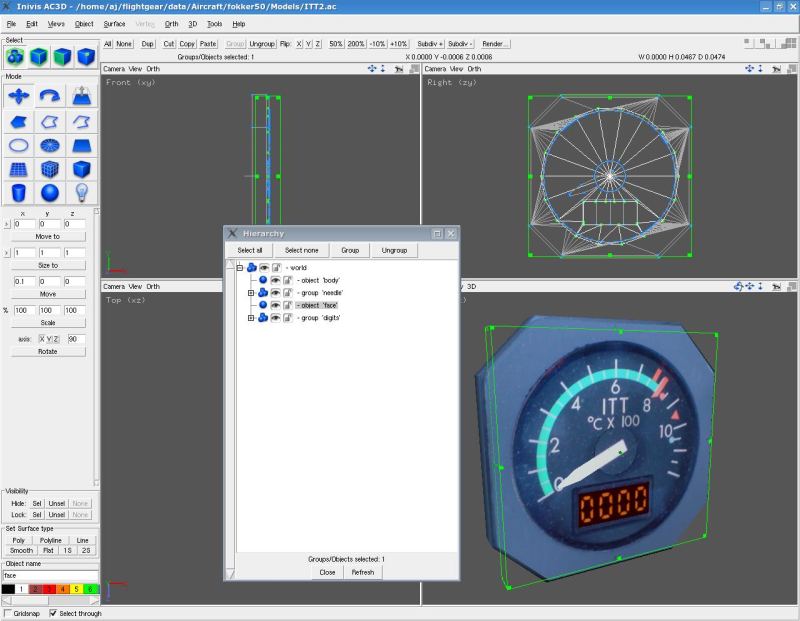
This is obviously the name of the 3d model file we wish to load. The model in question looks like this:
As you can see, the main item to animate is the temperature needle, and its name is "needle" (you can animate either ac3d "objects" or complete "groups"). We will want to use a "rotate" animation (for more details on available animation types, see "model-howto.html" which is provided with FG in the Docs directory.)
So, we add an <animation> section to our XML file.
<animation>
  <type>rotate</type>
  <object-name>needle</object-name>
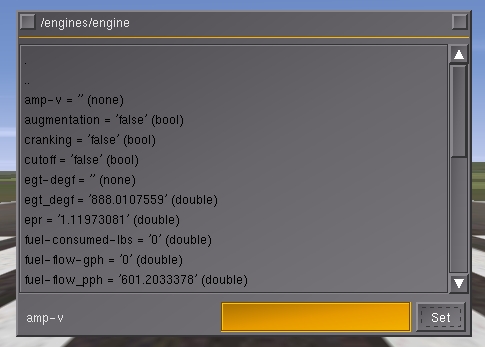
Now, we need to specify a property which will determine the amount of rotation required; in other words, the property that provides the ITT value at any one time. To find the name of this property, we need to start FlightGear in the usual manner with the correct aircraft (fokker50 in this case). Once FG has started, open the property browser (file/browse internal properties). You will see the top level of the property tree. Click on "engines" and you will see a list of engines; click on the first one (engine) and you will see a long list of properties and their current values.

