Howto:Create custom terrain
Enhancing the ground texture
A small picture is always better than a big topic
Look here an example of the achievable result.
Why enhancing the ground texture ?
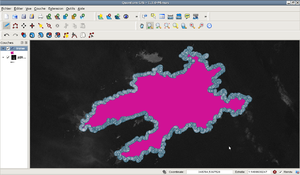
Let's take a look at the Finistère in Brittany, Western France : if you click [1], you will quickly see and understand how the Finistère county is know of FlightGear. Some towns/city (red), a few forests (green), etc. Overall, it is not a very good resolution : a lot of angles, the detail level is not that good, some towns are missing. If you want a better definition on ground, there is some work to be done ! The goal being to obtain something like this :
You will immediately notice the improvement to the ground. When flying, the difference is huge. Moreover, this enables the autogeneration of cities, trees, and so on.
Downloading the Landsat pictures
Browse to the Earth Science Data Interface interface to grab your Landsat data.
- Click Map Search.
- Click ETM+ (left column).
- Click on Update Map on the right bottom of the map.
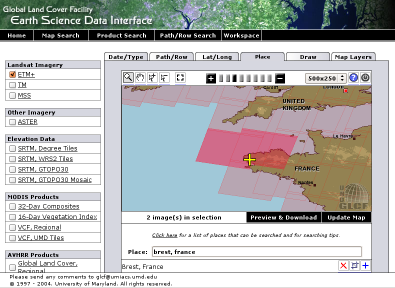
- Click on the Placetab on the upper side of the map, in order to do a search by place, or you can do a search by latitude/longitude.
- In the Place field, type Brest, France for instance.
- You'll get the following :
- Check that you have 2 images in selection for example : this confirms that your selection is good. For Brest, there are two Landsat pictures to cover the area.
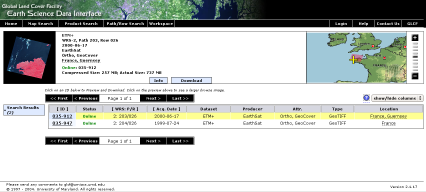
- Click on Preview and download. You will get the following screen. On the left you can check the picture you are going to download. The size of the pictures is also given.
- Click on Download to get a FTP access.
- Only the files with a .tif.gz and .met extensions are of interest.
- Uncompress the .tif.gz files in the directory of your choice.
Working with QGIS
Using a GIS software gives you the opportunity to realize a full range of interesting operations : modification of VMAP data, updates on the ground classification, etc...
- This process is made under GNU/Linux. If this is the case, you can install QGis with your usual package repositery manager : see here. The process is easy and not described here, but it is one the QGIS website.
- If you are running Windows, you can useFGIS, the process is very close. And QGIS works under Windows by now as well.
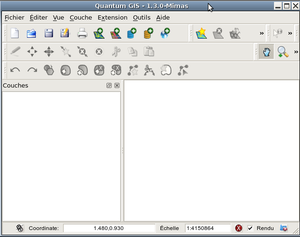
- Launch QGis.
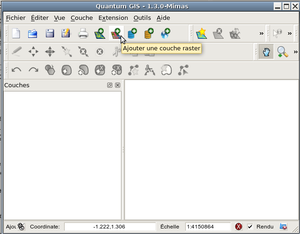
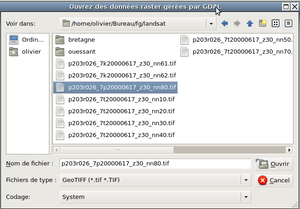
- Click on Layer -> Add a Raster layer.
- Modify the filter to search for *.tif files
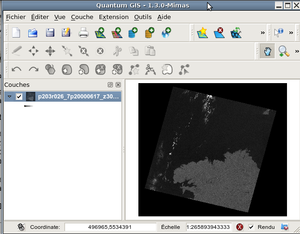
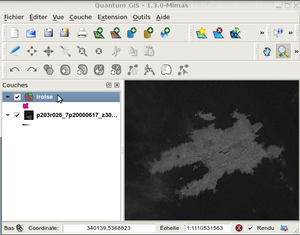
- Add the TIFF file you have just downloaded.
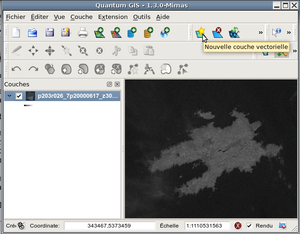
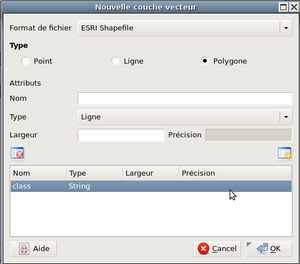
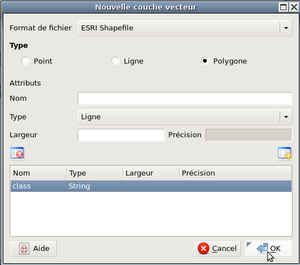
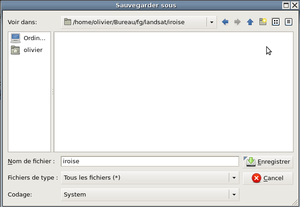
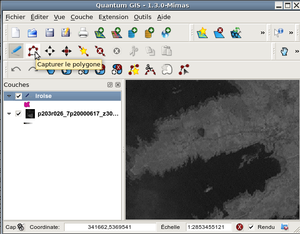
- Click on Layer -> Aadd a new vector layer or on the corresponding icon.
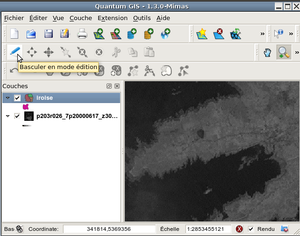
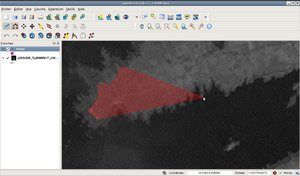
- Switch to the edition mode.
