Howto:Build and run FlightGear on Raspberry Pi 4: Difference between revisions
Jump to navigation
Jump to search
| (4 intermediate revisions by the same user not shown) | |||
| Line 16: | Line 16: | ||
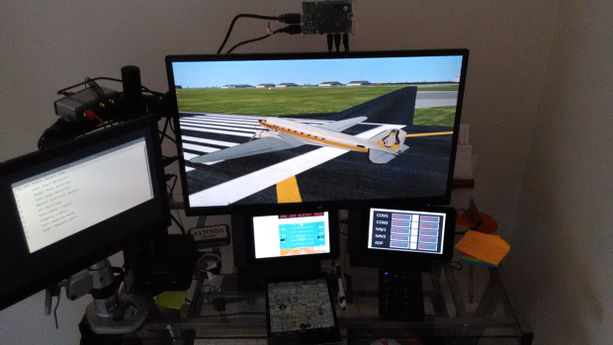
Pi4 Desk.jpg|Raspberry Pi4 running flightGear. One touchscreen and Raspberry P3 A+ with Phi PFD and a second with Phi radio stack. | Pi4 Desk.jpg|Raspberry Pi4 running flightGear. One touchscreen and Raspberry P3 A+ with Phi PFD and a second with Phi radio stack. | ||
</gallery> | </gallery> | ||
Revision as of 03:12, 6 January 2021
It is now possible to run FlightGear on a Raspberry Pi, starting with the model Pi 4. The objective of Howto:Build and run FlightGear on Raspberry Pi 4 is to introduce Pi users to FlightGear and possibly FlightGear users to the Raspberry Pi family. One of the main objectives of the Raspberry Pi is education. Hopefully this marriage will introduce some young programmers to FlightGear. Although this will mainly deal with the Pi 4, other models may find applications in the area of flight panels and instruments.
Gallery
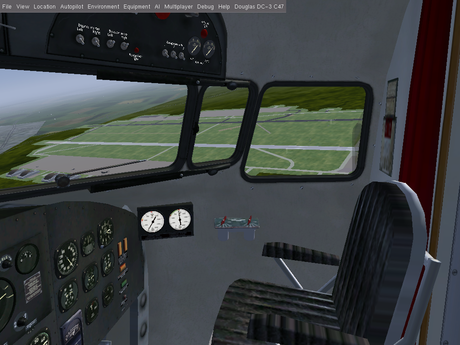
Raspberry Pi4
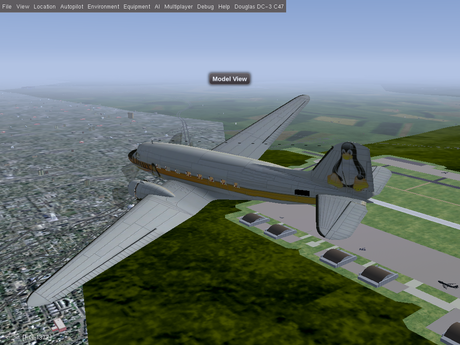
Raspberry Pi4

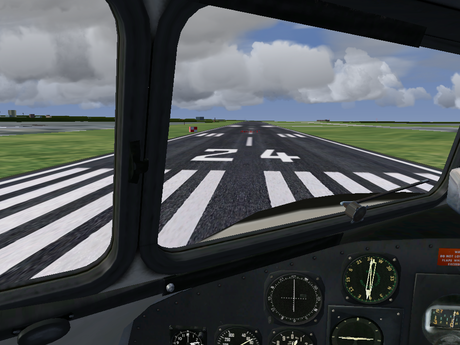
Raspberry Pi4
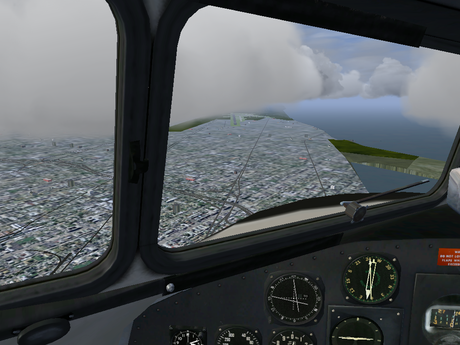
Raspberry Pi4

Raspberry Pi4

Raspberry Pi4

Raspberry Pi4
Raspberry Pi4
Raspberry Pi4 running flightGear. One touchscreen and Raspberry P3 A+ with Phi PFD and a second with Phi radio stack.


