Howto:Build and run FlightGear on Raspberry Pi 4: Difference between revisions
(→Memory) |
|||
| Line 294: | Line 294: | ||
[https://launchpad.net/~saiarcot895/+archive/ubuntu/flightgear FlightGear PPA for Raspberry Pi 4.] | [https://launchpad.net/~saiarcot895/+archive/ubuntu/flightgear FlightGear PPA for Raspberry Pi 4.] | ||
[[Category:Raspberry Pi]] | [[Category:Raspberry Pi]] | ||
[[Category:Building from source]] | [[Category:Building from source]] | ||
Revision as of 18:16, 5 January 2021
It is now possible to run FlightGear on a Raspberry Pi, starting with the model Pi 4. The objective of Howto:Build and run FlightGear on Raspberry Pi 4 is to introduce Pi users to FlightGear and possibly FlightGear users to the Raspberry Pi family. One of the main objectives of the Raspberry Pi is education. Hopefully this marriage will introduce some young programmers to FlightGear. Although this will mainly deal with the Pi 4, other models may find applications in the area of flight panels and instruments.
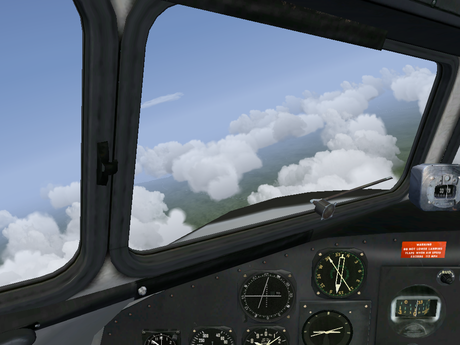
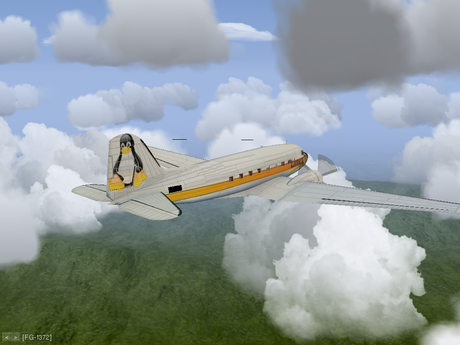
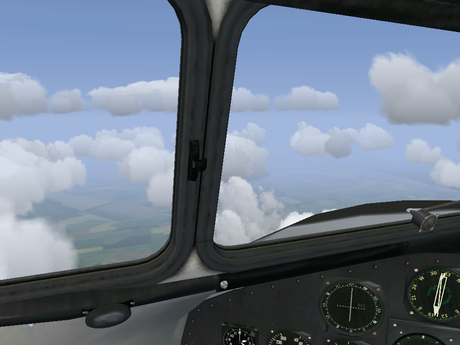
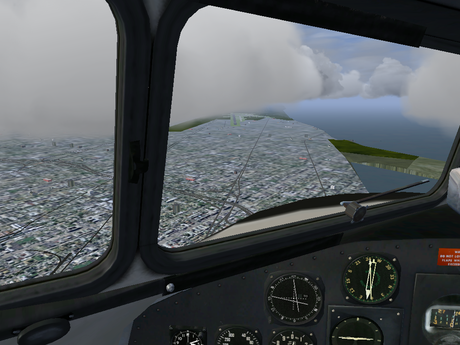
Gallery
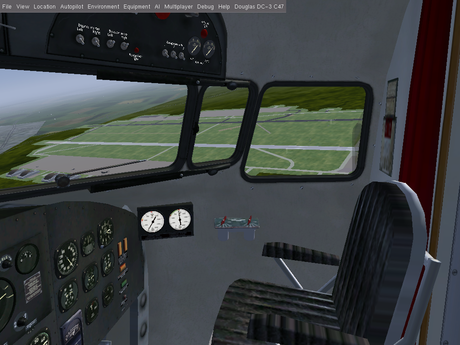
Raspberry Pi4
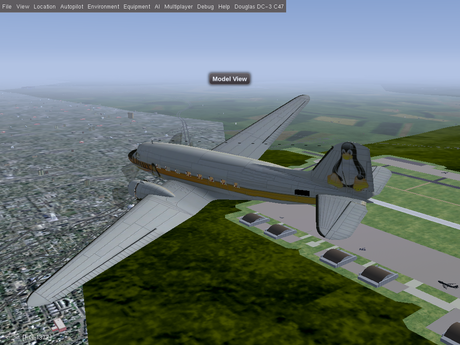
Raspberry Pi4
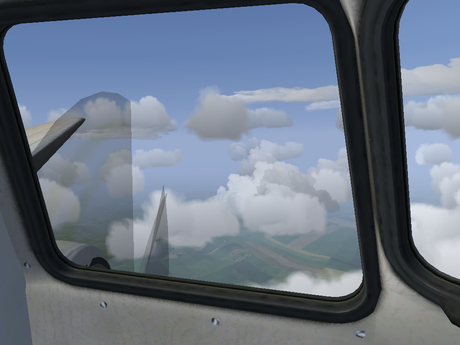
Raspberry Pi4
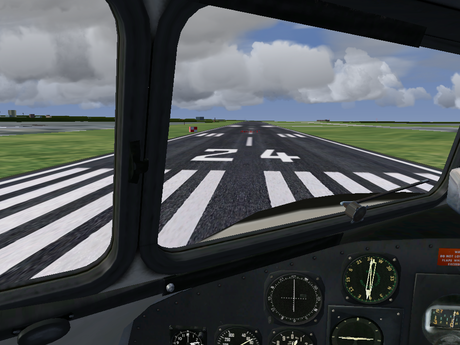
Raspberry Pi4
Raspberry Pi4
Raspberry Pi4
Raspberry Pi4
Raspberry Pi4
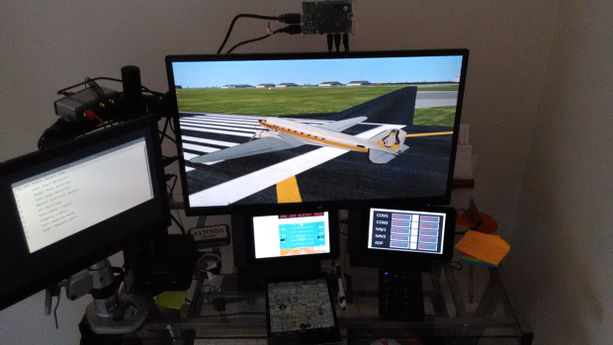
Raspberry Pi4 running flightGear. One touchscreen and Raspberry P3 A+ with Phi PFD and a second with Phi radio stack.


Update Raspbian
Use the below commands to update your Raspberry Pi:
sudo apt-get update
sudo apt-get full-upgrade
Do not use the below update command unless you know how and why to use it. This command will install experimental software that has a good chance of breaking your operating system. It is like flying into a thunder storm cloud.
sudo rpi-update (DO NOT USE)
Backtrace using gdb: and Download_and_compile.sh
Tracking down a crash with double free corruption (fasttop)
Set environment variable:
set environment MALLOC_CHECK_ 2Next run FlightGear with debug:
./run_fgfs_debug.sh --launcher
Use the below gdb commands handle SIGPIPE nostop and handle SIG32 nostop to skip innocent events:
gdb: handle SIGPIPE nostop
gdb: handle SIG32 nostop
Use r within gdb to run FlightGear:
gdb: rAfter the crash use the gdb command bt to print the backtrace:
gdb: btosgviewer
Using the command line osgviewer to display models. These instructions are for FlightGear and OSG built with download_and_compile.sh.
cd /flightgear/dnc-managed/install/openscenegraph/bin

export LD_LIBRARY_PATH=../openscenegraph/lib:$LD_LIBRARY_PATH

./osgviewer "path to your model file"
Type h for the help menu.
Feature Scaling - FlightGear
Menu Bar
Hiding the menu bar improves FPS too some degree. More so when FlightGear is running in a window. It can be toggled on/off with [Shift] + [F10] or the Auto Hide option can be used.
GPU Profile
|
|
The following GPU profile was provided by enrogue [1]
<?xml version="1.0"?>

<PropertyList>
  <shaders>
    <custom-settings type="bool">true</custom-settings>
    <clouds type="double">0</clouds>
    <generic type="double">1</generic>
    <landmass type="double">3</landmass>
    <model type="double">0</model>
    <contrails type="double">1</contrails>
    <crop type="double">0</crop>
    <skydome type="bool">false</skydome>
    <transition type="double">0</transition>
    <urban type="double">0</urban>
    <water type="double">3</water>
    <wind-effects type="double">0</wind-effects>
    <vegetation-effects type="double">0</vegetation-effects>
    <forest type="double">0</forest>
    <lights type="double">3</lights>
    <quality-level-internal type="double">3</quality-level-internal>
    <quality-level type="double">-1</quality-level>
  </shaders>
  <random-objects type="bool">true</random-objects>
  <random-vegetation type="bool">true</random-vegetation>
  <random-vegetation-shadows type="bool">false</random-vegetation-shadows>
  <random-vegetation-normals type="bool">false</random-vegetation-normals>
  <vegetation-density type="double">1</vegetation-density>
  <random-buildings type="bool">false</random-buildings>
  <building-density type="double">1</building-density>
  <point-sprites type="bool">true</point-sprites>
  <particles type="bool">true</particles>
  <clouds3d-enable type="bool">true</clouds3d-enable>
  <clouds3d-vis-range type="double">10000</clouds3d-vis-range>
  <clouds3d-detail-range type="double">10000</clouds3d-detail-range>
  <clouds3d-density type="double">0.25</clouds3d-density>
  <shadows>
    <enabled type="bool">true</enabled>
  </shadows>
</PropertyList>
FG1000
|
|
For the time being, the FG1000 must be considered hardly usable on the RPi, i.e. ~200ms/5fps. We're currently in the process of investigating what can be done to make it possible to use the device on the RPi, since that would seem like a perfect use-case.
One thing that's obvious is that initialization of the device takes unusually long. To see what's going on, we can wrap the initialization code inside $FG_ROOT/gui/menubar.xml in between profiling calls:
diff --git a/gui/menubar.xml b/gui/menubar.xml
index ff3faa1ac..6c94b2e76 100644
--- a/gui/menubar.xml
+++ b/gui/menubar.xml
@@ -834,6 +834,7 @@
                        <binding>
                                <command>nasal</command>
                                <script>
+                                       fgcommand("profiler-start");
                                        var nasal_dir = getprop("/sim/fg-root") ~ "/Aircraft/Instruments-3d/FG1000/Nasal/";
                                        if (! defined("fg1000")) {
                                                io.load_nasal(nasal_dir ~ 'FG1000.nas', "fg1000");
@@ -846,6 +847,7 @@
                                        var fg1000system = fg1000.FG1000.getOrCreateInstance();
                                        var pfdindex = fg1000system.addPFD();
                                        fg1000system.displayGUI(pfdindex);
+                                       fgcommand("profiler-stop");

                                </script>
                        </binding>
Another thing worth trying is running the built-on OSG optimizer on the root group, this requires patching SG/FG respectively:
diff --git a/simgear/canvas/elements/CanvasGroup.hxx b/simgear/canvas/elements/CanvasGroup.hxx
index 33687637..288da23d 100644
--- a/simgear/canvas/elements/CanvasGroup.hxx
+++ b/simgear/canvas/elements/CanvasGroup.hxx
@@ -20,6 +20,8 @@
 #ifndef CANVAS_GROUP_HXX_
 #define CANVAS_GROUP_HXX_

+#include <osgUtil/Optimizer>
+
 #include "CanvasElement.hxx"

 #include <list>
@@ -97,6 +99,11 @@ namespace canvas
       osg::BoundingBox
       getTransformedBounds(const osg::Matrix& m) const override;

+      void optimize () {
+             osgUtil::Optimizer opt;
+             opt.optimize(_scene_group.get()  );
+      }
+
     protected:

       static ElementFactories   _child_factories;
diff --git a/src/Scripting/NasalCanvas.cxx b/src/Scripting/NasalCanvas.cxx
index 602f06989..23aadfb36 100644
--- a/src/Scripting/NasalCanvas.cxx
+++ b/src/Scripting/NasalCanvas.cxx
@@ -521,7 +521,8 @@ naRef initNasalCanvas(naRef globals, naContext c)
     .bases<NasalElement>()
     .method("_createChild", &f_groupCreateChild)
     .method( "_getChild", &f_groupGetChild)
-    .method("_getElementById", &sc::Group::getElementById);
+    .method("_getElementById", &sc::Group::getElementById)
+    .method("optimize", &sc::Group::optimize);
   NasalText::init("canvas.Text")
     .bases<NasalElement>()
     .method("heightForWidth", &sc::Text::heightForWidth)
Feature Scaling - Raspberry Pi OS
Screen Resolution

When running FlightGear, using the full screen option, 1024 X 768 resolution works well. Possibly because this is FlightGear's native resolution. In order to choose this resolution go to the Raspbian program menu 'Preferences' and run 'Screen Configuration'. Now right click on the screen that needs to be adjusted to 1024 X 768, on the Screen Layout Editor seen to the right. If using two screens, it might be best to set both screens to the same resolution. Also, it is best to have the two HDMI boxes touching so that the mouse cursor doesn't have a dead spot. Click on the green check to finish.
Memory split
The memory split option is found in the raspi-config program, under "7 Advanced Options."
sudo raspi-config
This option adjusts gpu_mem and thus allots the GPU memory. Starting with the Pi4, most of the GPU memory is controlled by the the Linux kernal and there is a disadvantage when gpu_mem is set too high. Never exceed 512MB, less is better. vcgencmd get_mem gpu will report GPU memory set by gpu_mem.
For more information see Memory options in config.txt
Interfacing
Expanding the flight simulator system beyond the primary Raspberry Pi4, that is running FlightGear, is one way to increase the computing power of such a small computer.
Avare

Avare is a free aviation app, with no ads, that works well with FlightGear. It is an app that is used by many pilots. It will provide a moving map of the FlightGear aircraft, using all FAA charts and a lot more. These charts are for the USA, however some of these FAA Charts cover Puerto Rico, plus parts of Canada, Mexico and the Caribbean. For other parts of the world, there are other apps that might work. Avare can be downloaded from Google Play Store. A tablet is a good choice for running this app.
FlightGear and Avare are easy to bind together. Along with the main Avare app, the I/O app will also need to be installed on the tablet. This app is ‘Avare External I/O Plugin’. The scheme is that the Raspberry Pi4 and FlightGear will become the GPS signal used by the Avare app, this position is transferred via WiFi. So, the tablets internal GPS needs to be OFF. Avare will always prompt you to turn ON the internal GPS, so when asked to ‘Turn On GPS’, choose ‘No’. In ‘Preferances’ the GPS position source can and should be set to ‘Avare IO Module Only’, however the prompt to turn ON the internal GPS will still pop up when starting the app.
The below command tells FlightGear what to connect to and it's protocol. This can be placed in the GFly type programs or if in Terminal, place the command after fgfs. The address, 192.168.??.?, needs to be the address of the tablet running Avare. Some home networks will randomly choose an address, hence this could change. It will be displayed in the IO app. The number 49002 needs to be the same number that is in the Avare IO app. Use the Xplane option.
| Comm | Comm Type | Direction | Hertz | Machine Address | Port | Style | Protocol |
|---|---|---|---|---|---|---|---|
| --generic | socket | out | 2 | 192.168.??.?? | 49002 | udp | avare |
The table above helps to explain the command line below.
--generic=socket,out,2,192.168.??.??,49002,udp,avare
After FlightGear has started with the above command, open the Avare External I/O Plugin app. Choose the Xplane option and then tap on ‘Listen’. There should be lines of communication being displayed after ‘Listen’ is enabled. Leave this running and now open the main Avare app. Do not choose to use the internal GPS. Now your FlightGear aircraft placement should be displayed on the FAA map of choice.
Official 7" Touch Screen


There is the Official 7” Touch Screen for the Raspberry Pi. This screen will work with a number of different models of the Raspberry Pi’s. There is a case for it (there is no Official case) and the Pi, however the new Pi4 doesn’t fit this case, seen in the photo at the right. This combination does resemble a modern aircraft instrument. There is a new case that will fit the Pi4 and other models, SmartPi Touch 2.
Phi will work with almost any device with a browser. In this example the Touch Screen is used with a Raspberry Pi3 B+. There is a screen touch keyboard, however only the numeric keyboard is needed to operate the Radio Stack and the full keyboard doesn’t make efficient use of the screen area. To the right, an external numeric keypad is being used. It makes an interesting combination to touch on screen hot spots and use the external keyboard to input the radio frequencies. A numeric touch screen keypad is being looked into.
Pass the below command to FlightGear, during startup, using your favorite method:
--httpd=8080
In the browser address bar, the one with the 7” Touch Screen, type the below address. Replace the '??' with your numbers. This address needs to be the address of the Raspberry Pi4 that is running FlightGear. Some home networks randomly assign addresses, so when launching FlightGear it is good practice to check the address. To easily find this address, place the mouse cursor on the WiFi/Network icon that is on the top menu bar. It is to the far right.
192.168.??.??:8080
In order to adjust the screen brightness use the below command to write a value into the brightness file. Adjusting the number ‘128’ to a lower value will reduce the brightness of the screen.
sudo sh -c ‘echo “128”>/sys/class/backlight/rpi_backlight/brightness’
Other, less expensive, models of Raspberry Pi’s should also work. As long as it has the port for the Official Touch Screen and can run a browser. There are also third party touch screens on the market. However, purchasing official Raspberry products help to support the Raspberry Foundation promote computer education. Hopefully some of the young budding computer scientists will find value in FlightGear!
64-bit operating system
The Raspberry Pi4 can run FlightGear with a 64-bit OS.
Ubuntu Server
Unofficial distribution of Ubuntu Server 18.04.4 for Raspberry Pi 4.