FG Interface installation: Difference between revisions
(→First Boot: adding screenshot Putty Connexion) |
|||
| Line 57: | Line 57: | ||
== First Boot == | == First Boot == | ||
Plugin your sd-card in your Raspberry, plugin network cable.<br /> | Plugin your sd-card in your Raspberry, plugin network cable.<br /> | ||
One precision about that, since the begining, i am using the RJ45 connexion because, on first generation wifi / bluetooth was not existing. | One precision about that, since the begining, i am using the RJ45 connexion because, on Raspberry first generation wifi / bluetooth was not existing.<br /> | ||
And i think direct connexion will be more stable than a wireless connexion. | And i think direct connexion will be more stable than a wireless connexion. Feel free to you to use wireless connexion, just be sure to able to get the ip address if you dont plug a screen directly on the pi.<br /> | ||
Ok, so now network and storage are plugged, you can power on the rpi. | Ok, so now network and storage are plugged, you can power on the rpi.<br /> | ||
=== If you have choose to not plug in a screen on your pi === | === If you have choose to not plug in a screen on your pi === | ||
Well, you have to determine the IP address that have been given by your box or your router (i am assuming that you have a working network. FG Interface is a network interface, talking to FG over TCPIP network. So if you don't have plug a screen you will have to find | Well, you have to determine the IP address that have been given by your box or your router (i am assuming that you have a working network. FG Interface is a network interface, talking to FG over TCPIP network). So if you don't have plug a screen you will have to find Raspberry Ip Address.<br /> | ||
I am not able to explain how as there is full of case possible, regarding of the lots of operator harware and even some have their own router. | |||
I am not able to explain how as there is full of case possible, regarding of the lots of operator harware and even some have their own router.<br /> | |||
Once you have get the ip address, connect to Raspberry with ssh client.<br /> | |||
You can use '''PuttY''' on Windows or '''terminal''' on Linux.<br /> | |||
Exemple from PuttY on a windows station :<br /> | |||
[[File:FGint_Prompt2.jpg]] | |||
[[File:FGint_Prompt3.jpg]] | |||
=== If you have plugin a screen on your pi === | === If you have plugin a screen on your pi === | ||
Assuming that you have plugin a mouse and a keyboard, just log in.<br /> | Assuming that you have plugin a mouse and a keyboard too, just log in.<br /> | ||
First connexion : <br /> | First connexion : <br /> | ||
Revision as of 16:15, 12 July 2017
Download Raspbian
Raspbian is one of the distribution available on Raspberry Pi and especially the official distribution.
It is based on the Jessie Debian version. This makes it a robust environment.
Download the distribution on the web portal of the Raspberry Pi foundation:
In the "Download" section choose the Raspbian distribution.
Depending on your needs and especially depending on the display you will be using, remote (connection via putty or shell) or direct connection to the raspebrry (with a keyboard, a mouse and a screen), please be careful that there are two images , One - the lite version - does not contain the GUI to run gnome or kde or any other GUI.
If you opt for management only by remote connection on the RPI, the "lite" distribution is sufficient. If on the other hand you enviaager to connect a screen and launch the graphic office ... you must take the version WITH DESKTOP.
For my personal case and my habit I chose to avoid installing too much thing on the raspberry, especially of thing do not I would not use, and it will always be time to install the GUI later If need be.
If you feel more comfortable with the graphic mode no problem.
Extract Image
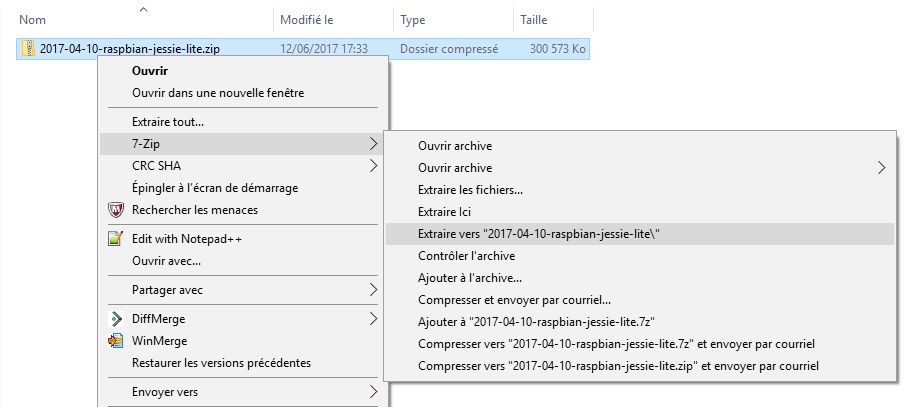
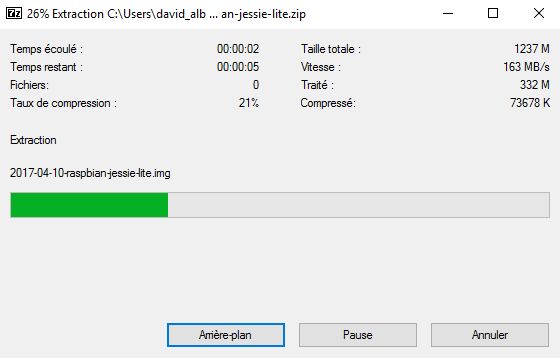
Unzip the archive
Burn Image on Sd Card
Plug your sd-card into your reader. Burning process can be done with :
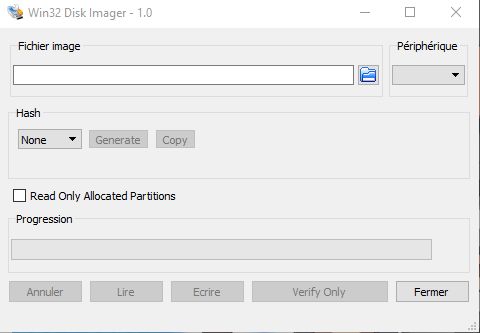
Win32DiskImager on windows
or
Etcher on linux or MacOs
Mine have been done with Win32DiskImager
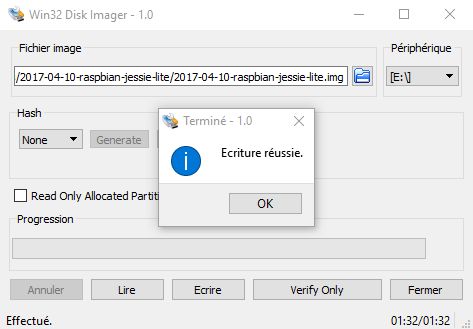
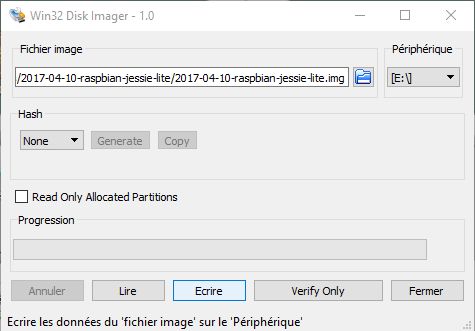
Select the image to burn and the sd card drive
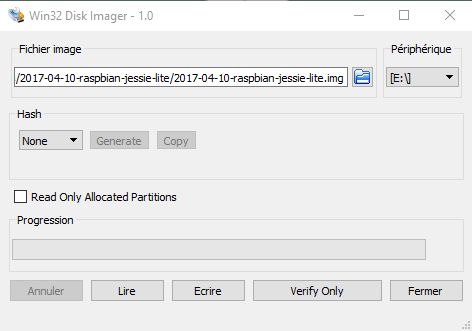
Click on "Write" and wait Writing process is finish.
SSH Configuration
By default, the SSH server of the raspberry is not activated at the boot. Difficult to connect in this case tell me you. Yes but :), there is always a trick.
Just place an empty file "ssh", without extension, at the root of the / boot partition.
Once engraved, the contents of this partition must have appeared in your file explorer.
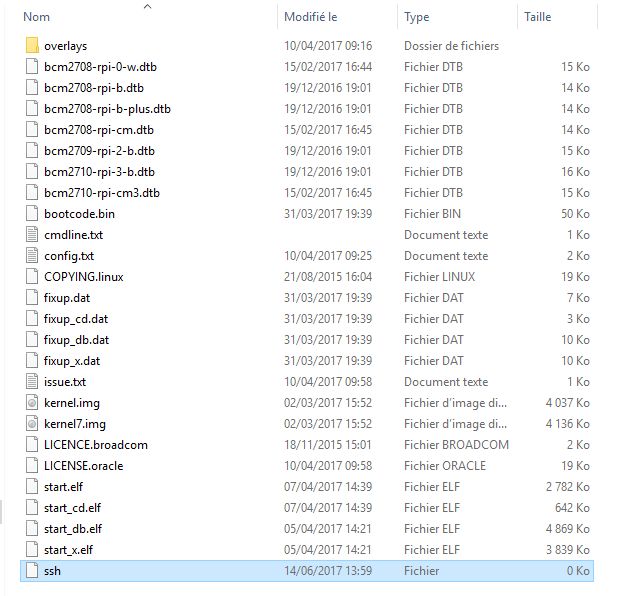
You can now umount and eject your sd-card from your reader.
First Boot
Plugin your sd-card in your Raspberry, plugin network cable.
One precision about that, since the begining, i am using the RJ45 connexion because, on Raspberry first generation wifi / bluetooth was not existing.
And i think direct connexion will be more stable than a wireless connexion. Feel free to you to use wireless connexion, just be sure to able to get the ip address if you dont plug a screen directly on the pi.
Ok, so now network and storage are plugged, you can power on the rpi.
If you have choose to not plug in a screen on your pi
Well, you have to determine the IP address that have been given by your box or your router (i am assuming that you have a working network. FG Interface is a network interface, talking to FG over TCPIP network). So if you don't have plug a screen you will have to find Raspberry Ip Address.
I am not able to explain how as there is full of case possible, regarding of the lots of operator harware and even some have their own router.
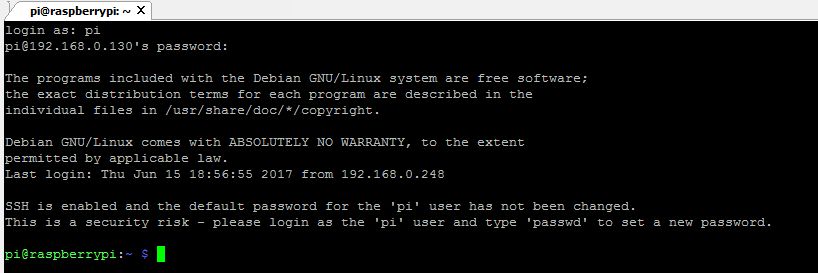
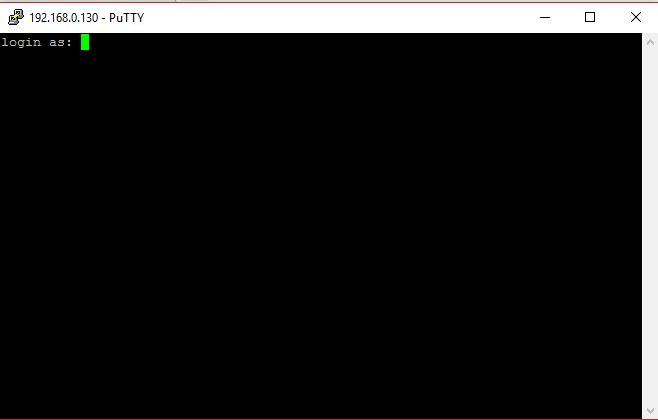
Once you have get the ip address, connect to Raspberry with ssh client.
You can use PuttY on Windows or terminal on Linux.
Exemple from PuttY on a windows station :
If you have plugin a screen on your pi
Assuming that you have plugin a mouse and a keyboard too, just log in.
First connexion :
User : pi
Password : raspberry
Once connected on Raspberry, ifconfig will give you ip address. Write down and store it somewhere you will needed it later to configure Flightgear parameters.
System Update
Python Installation
Python 3.x
I2C Python Module
| Work in progress This article or section will be worked on in the upcoming hours or days. See history for the latest developments. |

